Showing posts with label peppers. Show all posts

Friday, July 15, 2022

Ratatouille

Bonne fête! It's that time of year again, when we celebrate Bastile Day through classic dishes of France. Our Bastile Day feast started with escargot and bread and continued into a pan-seared ribeye and ratatouille. I've enjoyed ratatouille here and there over the years and made it a few times before, but had not yet dug into the sources on it. Julia Child has two versions, both on the fancier side, with thin slices of eggplant and zucchini layered between the peppers and onions. Mark Bittman's recipe does the same. Jacques Pépin goes with a more rustic style with cubed vegetables all mixed together. That is the form of the dish I'm most familiar with, so that's what I did here. The most interesting thing I took from these sources is to keep the cuts of vegetables large, so that each can be enjoyed on its own merits. This recipe makes a lot, but the sources agree that ratatouille is excellent both cold and reheated.

Ratatouille is a classic dish of Provence, the southeastern coastal region generally known for its seafood. As I wrote on 2019's Bastile Day post, olive oil, garlic, and tomatoes are characteristic of Provençal cuisine. These elements are central to ratatouille, as well. The four other vegetables featured here (eggplant, zucchini, bell pepper, onion) seem to be the most commonly used, but can certainly be swapped out. It's an excellent way to use up summer vegetables like yellow squash or kohlrabi. Any fresh herbs you have on hand can also boost the dish. I used basil because I tend to have a lot of it on hand this time of year. I will finally note that I increased the recommended baking temperature to 400, up from the 350 I used. A dish composed entirely of vegetables has a lot of liquid, which could have been reduced more. At that higher temperature, it may be necessary to stir more often.

Wednesday, May 26, 2021

Diced Chicken with Walnuts (桃仁雞丁)

To kick off the summer, we're taking on another recipe from Pei Mei's Chinese Cook Book. This one is adapted from one I found in the Southern China section of volume I. The Chinese name taoren jiding translates to "walnut diced chicken." Interestingly, this recipe bears a striking resemblance to what most Americans picture as Chinese food. American-Chinese cuisine evolved specifically from Cantonese cooking, and this dish is a clear predecessor. Some combination of meat, vegetables, and nuts stir fried together in a sauce is a formula that comes up again and again. Years ago, even I threw together a cashew chicken recipe that's not all that different to this. 

I made a few changes from Pei Mei's original. As with so many of her dishes, she deep fries the chicken. I decided to streamline the process by stir frying the chicken instead, avoiding the hassle of cleaning up so much oil. I might try it that way in the future. She also recommends using hot peppers, while I used bell peppers. Some or all of those can be substituted for something spicier if you so choose. I chose to not salt the sauce ahead of time. You can always add salt at the end if you want to, and I added a few pinches. It's also worth mentioning she approves of cashews a substitute for the walnuts. 

This dish came out well. In the past, I've typically minced ginger, but I liked the bursts of ginger here from the larger slices. I might put in a little more next time. The flavor profile is pretty classic. A little more sugar would likely tilt it in American-Chinese direction, if you're into that. There's also plenty of leeway in the choice of chicken. Pei Mei suggests either deboning an entire (small) chicken or using breasts. I used thighs here. I served with steamed rice to complete the meal.

Monday, July 13, 2020

Chickpeas with Roasted Red Peppers

Although I typically feature main dishes on the blog, it's equally important to have easy side dishes in the cooking repertoire. This is especially true now, when access to fresh vegetables is more limited. This chickpea dish is perfect for this purpose. Most of the ingredients are pantry staples, and the bell pepper keeps relatively well in the refrigerator. It can also be left simmering more or less indefinitely while a more labor-intensive dish is prepared. In this case, I made fried calamari. 


This recipe is loosely based on a chickpea dish Dad used to make for his Spanish wine class. The original had Spanish chorizo, which is somewhat hard to come by in these parts. I converted it into a completely vegetarian dish by replacing the chorizo with a roasted bell pepper. Roasting a pepper is easy to do directly on a gas stove, but a grill or broiler work fine, too. 

This was also a good opportunity to show my (relatively) new saucier. A saucier is similar to a saucepan, but with sloping sides. They are perfect for a dish where there is need for both a saute and simmer. The sloping sides make tossing easy, but there is still enough volume for liquid. When cooking tomatoes or other acidic foods for a long period of time, I've read a nonreactive pan is best. Stainless steel, lined copper, or enameled work best here. The pan I used has a three layer construction which sandwiches conductive aluminum with nonreactive stainless steel.

Monday, March 25, 2019

Sautéed Chicken and Bell Peppers

I'll be the first to admit I haven't been posting much lately. Usually, this means I've been busy and not cooking anything new or particularly interesting. A lot of times, I fall back on old standbys which have already appeared on the blog, such as char siu. Lately, I've been cooking a lot of simple and quick chicken dishes, some of which are devised out of whatever I happen to have at the time. Sometimes, they turn out really well, and I think it's time to highlight some of these humble dinner workhorses. Grilled chicken cutlets and Chengdu-style chicken (known as "five spice chicken" in our house) are two that have seen a lot of action recently.


This particular creation was an instant hit and immediately became a staple weeknight dinner. The first time I made it, I basically dumped all the ingredients into the pan at once. Instead of properly browning, the vegetables sweated, forming into their own sauce. As I've given more thought to it, I've cooked them the ingredients in batches (as in my standard way to cook fried rice). As such, I add a little chicken stock to form up a quick pan sauce at the end.

Ingredients
  • 2 lb. (approx.) boneless chicken thighs
  • 2 bell peppers (I use 1 green and 1 red)
  • 1 large onion
  • 5 cloves garlic
  • Oregano to taste (optional)
  • Salt to taste
  • 1/2 cup chicken stock
  • Lime wedges for serving
  • Olive oil
Rub
  • 2 tsp. ground cumin
  • 1 tsp. Spanish paprika
  • 1 tsp. salt
  • 1 tsp. black pepper

Instructions

Start by preparing the vegetables. Cut the onions into slices, lengthwise. Cut the tops off the bell peppers, remove the core, and cut into strips. Finely mince the garlic. Set vegetables aside and cut the chicken into pieces about square inch -- 4-5 pieces per thigh. In a large bowl, combine chicken and all rub ingredients. Toss to coat well.


In a large pan (I use cast iron), heat olive oil on medium-high heat. Sauté the chicken in two batches until lightly browned. Set chicken aside. 


Turn the heat down a bit. Add all the sliced peppers and onion into the pan, adding oil as needed. Season with about 1/2 tsp. salt. Cook, stirring frequently, until the onions are softened and turning translucent. 


Add the garlic and cook a few more minutes. Return the chicken to the pan and add oregano, if using. Continue cooking until the chicken is cooked through. Add chicken stock and scrape up any browned bits. Let the stock reduce into a coating while continuing to stir. 


Serve with lime wedges to squeeze over. The dish goes well with rice, bread, or both.

Monday, March 23, 2015

Sweet and Sour Pork (咕嚕肉)

A lot of Pei Mei's recipes follow the same basic pattern: Marinate meat, deep fry meat, cook aromatics and sauce, and toss meat in sauce. Lovers' Shrimp and Diced Fish with Fermented Black Beans are good examples of this kind of recipe. It's a formula that works well. The one step I usually skip, as I did with both those recipes, is the deep frying. I usually don't think it's worth using so much oil and going through the hassle when the meat is going into a sauce anyway, so I just stir fry the meat. Sometimes, though, the crunchiness that only deep frying can provide is an integral part of the dish. 


I believe sweet and sour pork is one of those dishes where crunchiness is important, so the Fry Daddy (last featured in 2012's "Pub Week") came out to play. I did not make too many changes from the original recipe this time. The salt is lowered a bit, and the pepper-to-pork ratio is a little lower (Pei-Mei's ambiguous "2 green peppers" may have been smaller than mine). The main change is that the whole recipe is scaled up from the original 1 lb. of pork so that I could use up the pork left in the aftermath of last week's shaomai. As usual, I dug into what the Chinese name actually means, and gu lu rou literally means "mumbling meat." Maybe your mouth is supposed to be too full of delicious pork to talk properly. I'm going with that.

The only special ingredient that needs mentioning is white rice vinegar. Compared to black vinegar, this is a lot more common in the international section of the grocery store.

Ingredients
  • 1 3/4 lb pork tenderloin
  • 2 bell peppers (I used 1 red and 1 green)
  • 6 slices canned pineapple
  • Cornstarch for dredging
  • Oil for frying
Marinade
  • 1 Tbs soy sauce
  • 2 Tbs cold water
  • 2 Tbs cornstarch
  • 1/2 tsp salt
  • 2 egg yolks
Sauce
  • 5 1/3 Tbs white rice vinegar
  • 7 Tbs sugar
  • 7 Tbs ketchup
  • 8 Tbs cold water
  • 5 tsp cornstarch
  • 1 3/4 tsp salt
  • 1 3/4 tsp sesame oil

Instructions

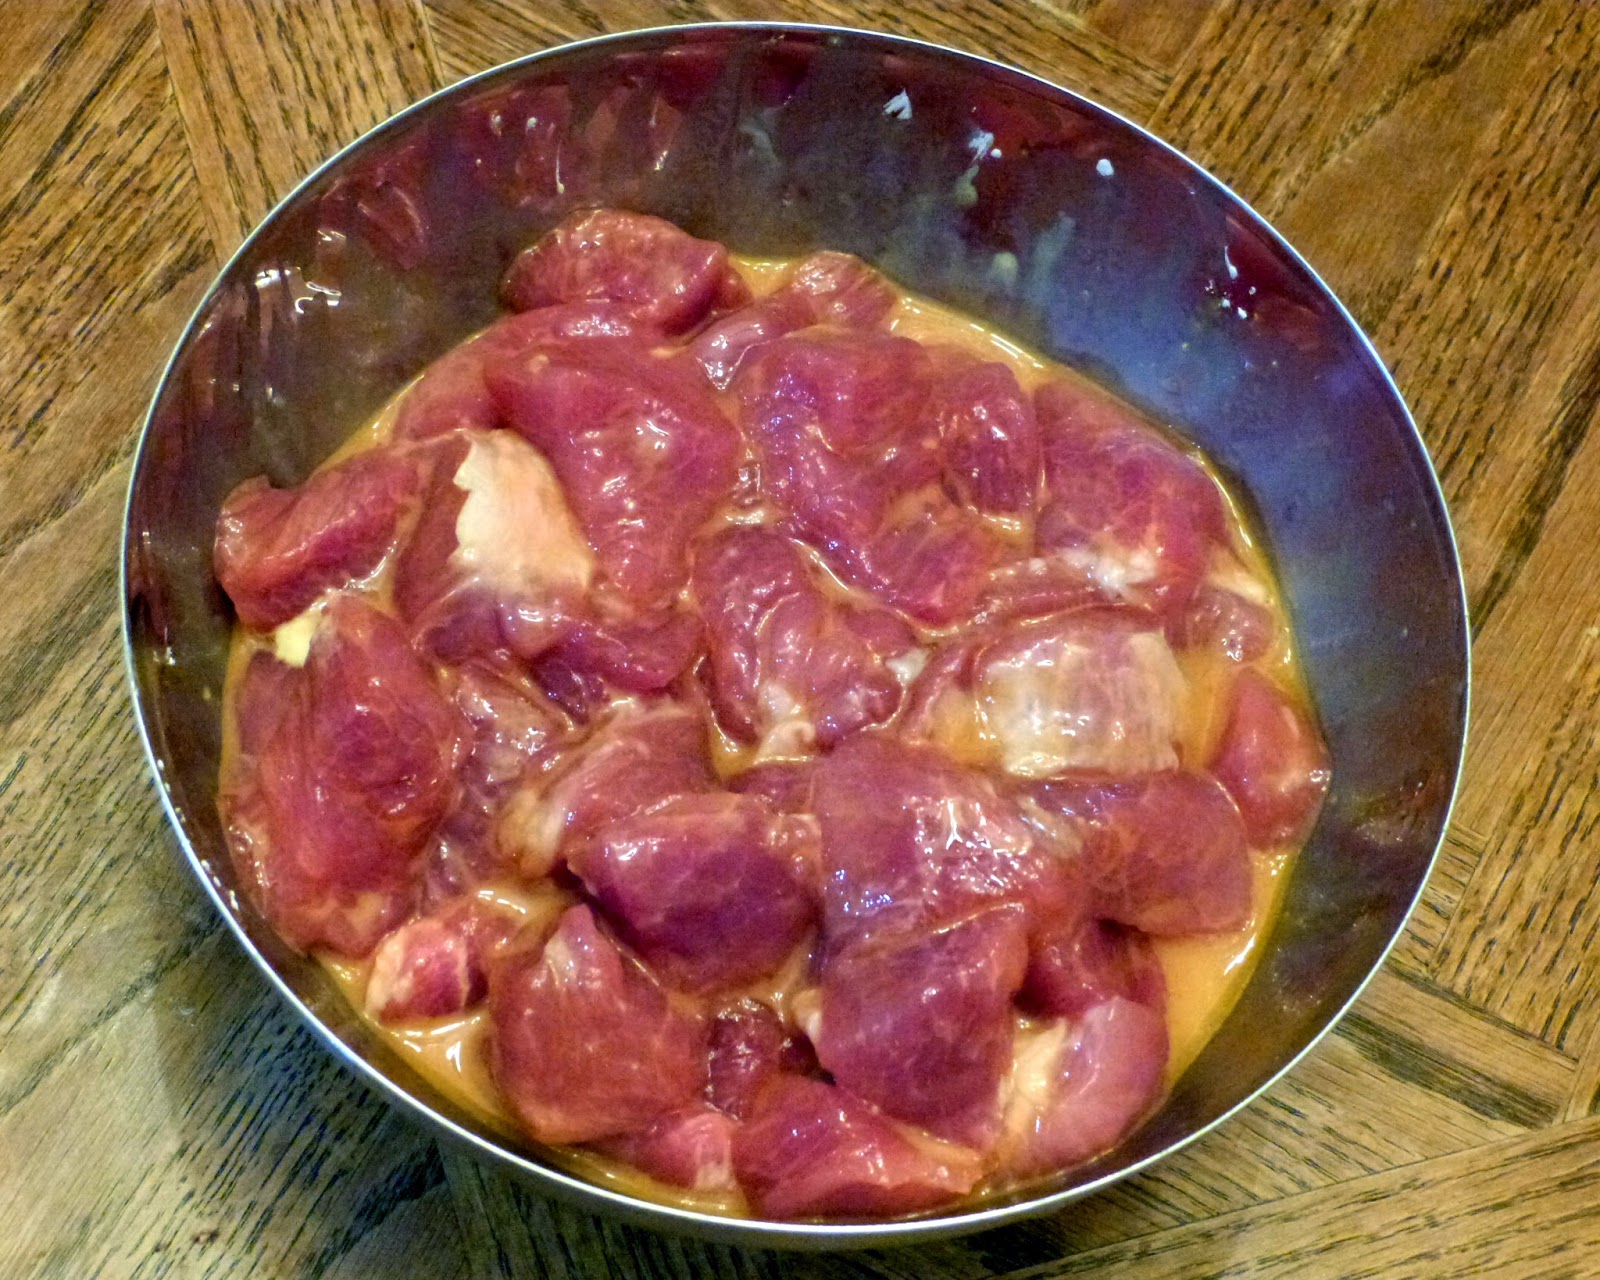
Cut pork into small chunks, about 1 inch cubes. Toss in a bowl with marinade ingredients to coat. Let rest in refrigerator for at least 30 minutes.


Cut the peppers in half and remove stems and seeds. Dice into small pieces. Cut the pineapple slices into similar-sized pieces. I made 8 small pieces out of each slice. Side all this aside for later. This is also a good time to mix together the sauce ingredients. Use a whisk to combine well.

The mighty Fry Daddy

Heat oil in a wok, deep fryer, or pot. If using a wok, especially on an electric stovetop, you need to be careful about stability. For this reason, I used the Fry Daddy. Dredge each pork piece in cornstarch and deep fry until lightly browned and cook through, about 2 minutes. You will want to work in batches, and let the oil rest slightly between batches, so that it can heat back up. Once all the pork is cooked, let the oil heat up again and fry the pork again until crispy. This will only take about one minute per batch. Set aside.

Pork after second frying
Heat a little oil in a wok on high heat. Stir fry the pepper and pineapple until softened and browned. This will take several minutes. Water will sweat out of the peppers; let this cook off so that they can brown. 


Add the sauce, and cook for 1-2 minutes, reducing to desired thickness. It should be quite sticky. Turn the heat off and add the pork. Toss until pork is thoroughly coated. Serve with rice.

Wednesday, April 11, 2012

Coconut Shrimp Curry

Today's recipe is a pan-Asian inspired shrimp curry. The shrimp are seared ahead of time and added back to avoid overcooking, which can produce some unimpressive results. For the pepper, I used a poblano, but bell peppers are probably better because they are a little more tender. Your pepper choice will also affect the spiciness of the dish. It's really up to your preference. For those who don't know it, garam masala is an Indian spice blend that you can usually find in an Asian grocery store. Enterprising folks could even make it themselves. Garam masala is what gives Indian food its distinctive, spicy flavor.


Ingredients
  • 6 large shrimp
  • 1/2 lime
  • 1 green pepper
  • 1/2 onion
  • 1 1/2 tsp garam masala
  • 1/2 tsp turmeric
  • 1/4 tsp ground mustard
  • 1/2 tsp dried basil
  • 1 cup coconut milk
  • 1/4 cup water
  • Salt, pepper, and coriander

Start by peeling and cleaning the shrimp. Put in a bowl and squeeze the lime juice over them. Season with salt, pepper, and a little coriander. Refrigerate for about 20 minutes. Heat oil on medium-high in a saute pan. Sear the shrimp on both sides and set aside. 


Cut the onion and pepper into slices. Remove the seeds from the pepper. Add more oil to the pan, and heat on medium. Add garam masala, turmeric, mustard, and basil, then the pepper and onion. Stir well and cook until vegetables are softened.


Add the coconut milk and water. The coconut milk will provide the flavor base, while the water will thin out the sauce a little. Add shrimp and simmer for a few more minutes. Stir to integrate everything. Taste the sauce and add salt to taste. Serve with basmati rice.