Showing posts with label Ariel. Show all posts

Tuesday, December 8, 2020

Ham Pasta

Comfort foods and family favorites have always been a major part of No Free Lunch. I've featured quite a few of my childhood favorites, like klub, hotdish, and chow fun, but this one comes from Ariel. It was a staple of her family and has been part of our rotation for years. Although I typically do most of our cooking, she's stepped up lately with how busy I've been. This recipe has been an invaluable go-to dinner for us. It's quick and easy, and perfect for a busy weeknight.

What we call "ham pasta" is a variant of an American-style pasta alla carbonara, which adds cream and vegetables to the Italian classic. This is a great example of how foods change and evolve as they move around the world. There's definitely room for both versions. I've actually only made this dish once, and it didn't exactly go over well when I substituted the ham for turkey ham. That being said, this recipe is pretty loose and most of the amounts listed here can be adjusted to taste. 

Wednesday, September 16, 2020

Tomato Jam

Today, I'm pleased to present a recipe from Ariel, which serves as a follow up to her strawberry jam from 2012. As I mentioned earlier, our cherry tomato plants have been quite prolific lately. Tomato jam is a great way to use them up while also putting them into something that won't go bad as quickly. The tomatoes for this recipe came from one day of picking. Although I'm generally not a huge fan of cherry tomatoes, this was an interesting and enjoyable application. It was very nice on a warm pita with a little goat cheese.

Ariel used yellow sunburst tomatoes, which resulted in a deep orange-colored jam. Other colors of tomatoes could be mixed for different colored jams. The main discussion we had afterward was about the sugar content. I didn't mind it, but Ariel thought it was much too sweet. I suppose the sugar does obscure the tomato flavor a bit. I tried the jam by itself on toast, as well with goat cheese as shown above. The goat cheese does balance out the sweetness. Dropping the sugar down as low as 1/2 cup could be a good experiment for the future. 

Saturday, June 2, 2012

Ariel's Amazing Strawberry Jam!

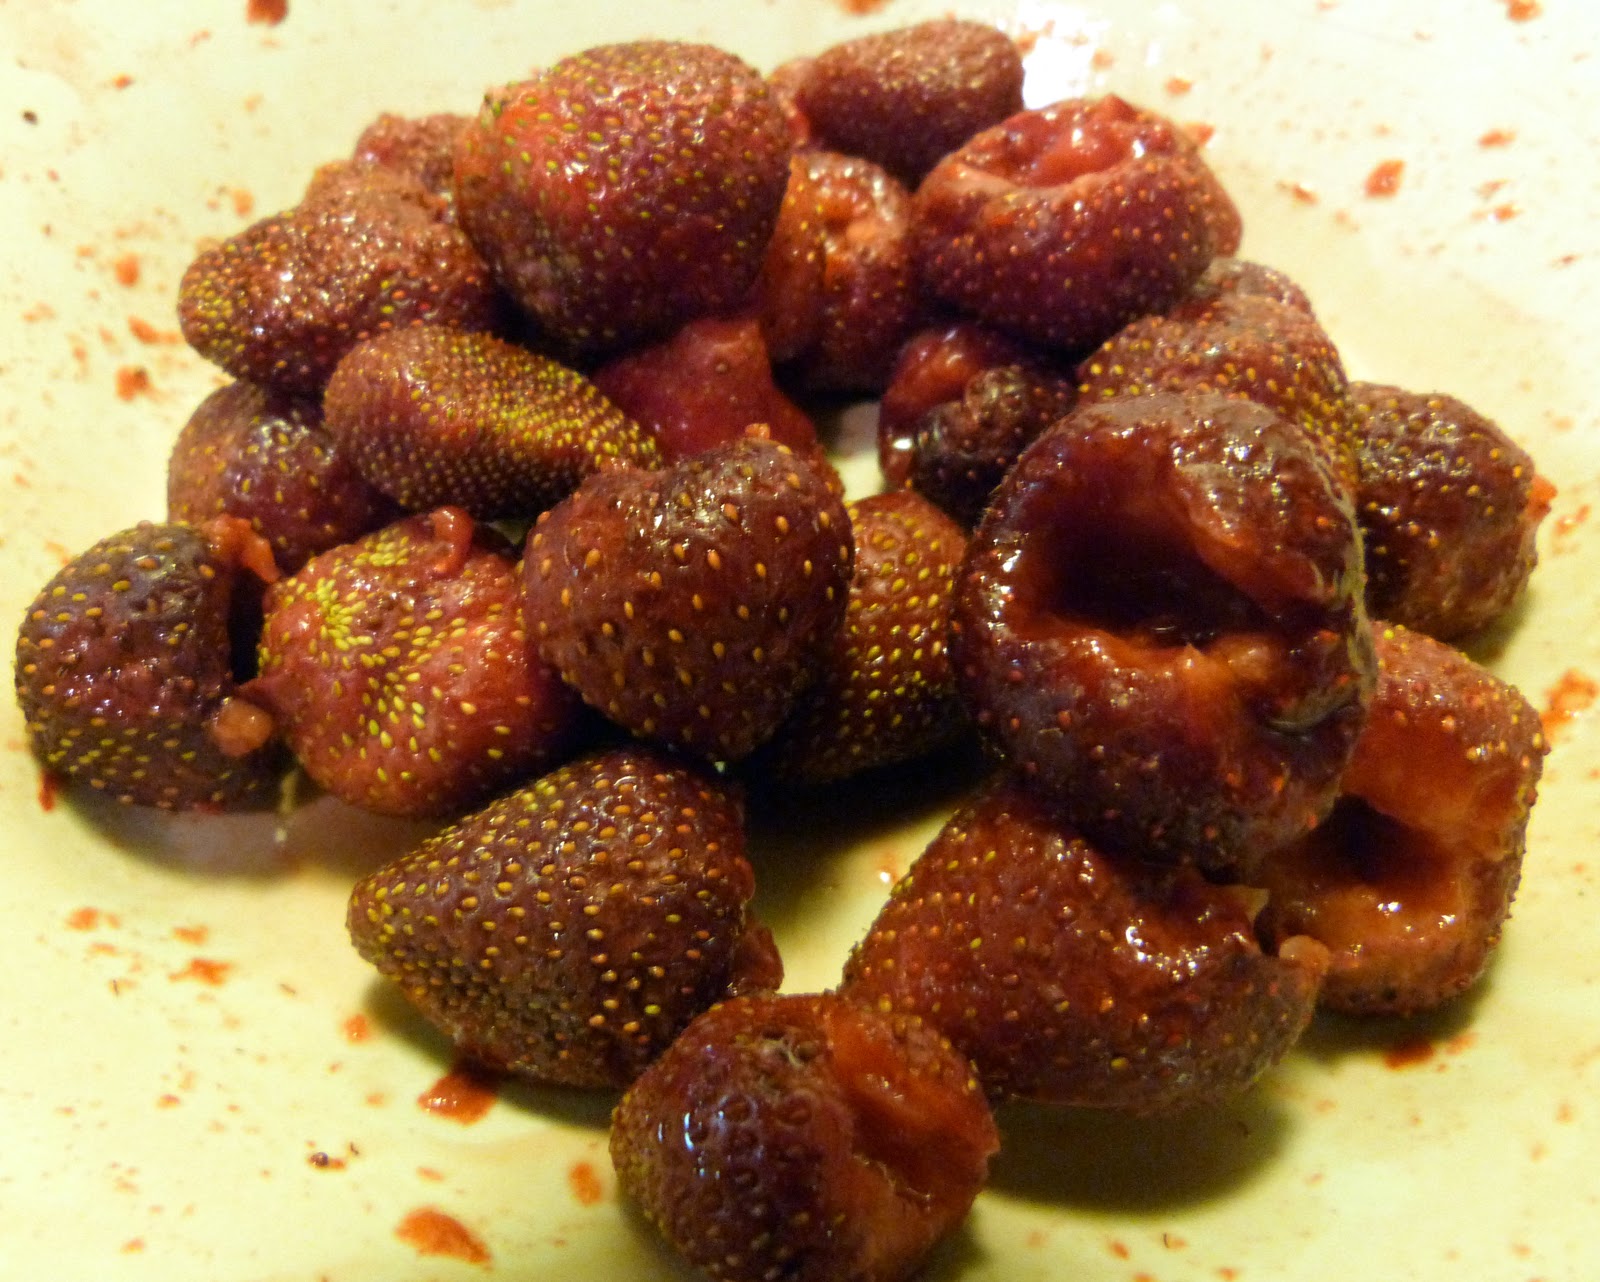
Hi all! I am commandeering Sebastian's blog for today. For those of you who don't know me, my name is Ariel, and I am Sebastian's girlfriend. I came down to visit as he gets into major studying mode for his upcoming exams. So I've had a lot of time on my hands to be domestic. Last Sunday, we went strawberry picking. It was a gorgeous day and a really beautiful farm. We got a ton of berries.... and I simply didn't know how we would eat them all before they went bad. So in addition to making a yummy strawberry banana smoothie and delectable chocolate covered strawberries, I decided to try my hand at jam making. After all, how could I get much more domestic than that? It turned out quite well, so I thought I'd share with you, dear readers.


P.S It is MUCH easier to make jam than I thought it would be!!

Ingredients
  • 6 cups crushed strawberries (instructions for crushing below)
  • 4 cups sugar (divided 1/4 and 3-3/4 c)
  • 1 box less sugar pectin (I used Sure-Jell Premium Fruit Pectin)
  • Wide mouth funnel
  • 8 half pint jars with lids and screw tops


Instructions

First you have to sanitize your jars. I used 8 half pint Ball jars. Throw them and the screw tops in a dishwasher without soap. Keep them in the warm steamy environment until you're ready to use them. The flat tops will go into hot water to be sanitized later. 

Next crush the fruit. To do this, use a potato masher and crush till you get a pulpy mess. Put it into a large (4-8 quart) pot. 


Mix 1/4 cup of sugar with the whole box of pectin.  Stir into the fruit. 

On high heat, bring to a full rolling boil, stirring CONSTANTLY.  This means the bubbles won't go away when you stir them. 


Heat up some water (not quite boiling) and add the jar tops to sanitize and soften up the rubbery surface. This will make a better suction. 

Add the rest of the sugar (3-3/4 cups) to the pot. Return to a rolling boil and boil for 1 minute. Remember to keep on stirring. It might take a little bit to get back to the rolling boil. This is fine. Remember, you just added a bunch of sugar to the mix.  


Remove from the heat.  There will be a lot of foam on the top. Scoop as much off as possible. Tip: Store the foam in a plastic container and refrigerate. You can reconstitute it in the microwave and enjoy as regular jam then.

Test to see if your jam is jelled enough. Take a spoon that was sitting in a glass of ice-water. Put a bit of jam on it and let it cool to room temperature. If it becomes the thickness you like, start filling your jars! If not boil for another minute. 

Ladle the jam into your sanitized containers (straight from the dishwasher!) Fill them to within 1/4 inch of the tops. Mine filled up 7 full jars and about 3/4 of the eighth one.  Tip: It will make your life a lot easier, and your kitchen a lot neater if you use a wide mouthed funnel to help you with this. 


Put the lids on and screw tops down until they are hand tight. Place jars into a large pot of hot water, covering the jars with 1-2 inches of water.  Bring to a gentle boil and boil for 10 minutes. Take them out and place on a towel to cool. When the jars are cool, check to see if they are sealed properly. (Does the center of the lid spring back when you push on it? If so, place in fridge for immediate consumption. If not, you're golden and your jam will stay fresh for about a year.) Tip: Use tongs for this step! They will be VERY HOT.

Leave them set out at room temperature for 24 hours.


You are ready to enjoy! Once you open your jar, it will keep for about 3 weeks. If it stays sealed, it will stay about a year.

Sebastian and I have not cracked open a jar yet, but we ate up my container of foamy jam on some homemade crepes and it was delicious! I can't wait to pass out my homemade jam to family and friends. 

Saturday, March 24, 2012

Matzo Ball Soup

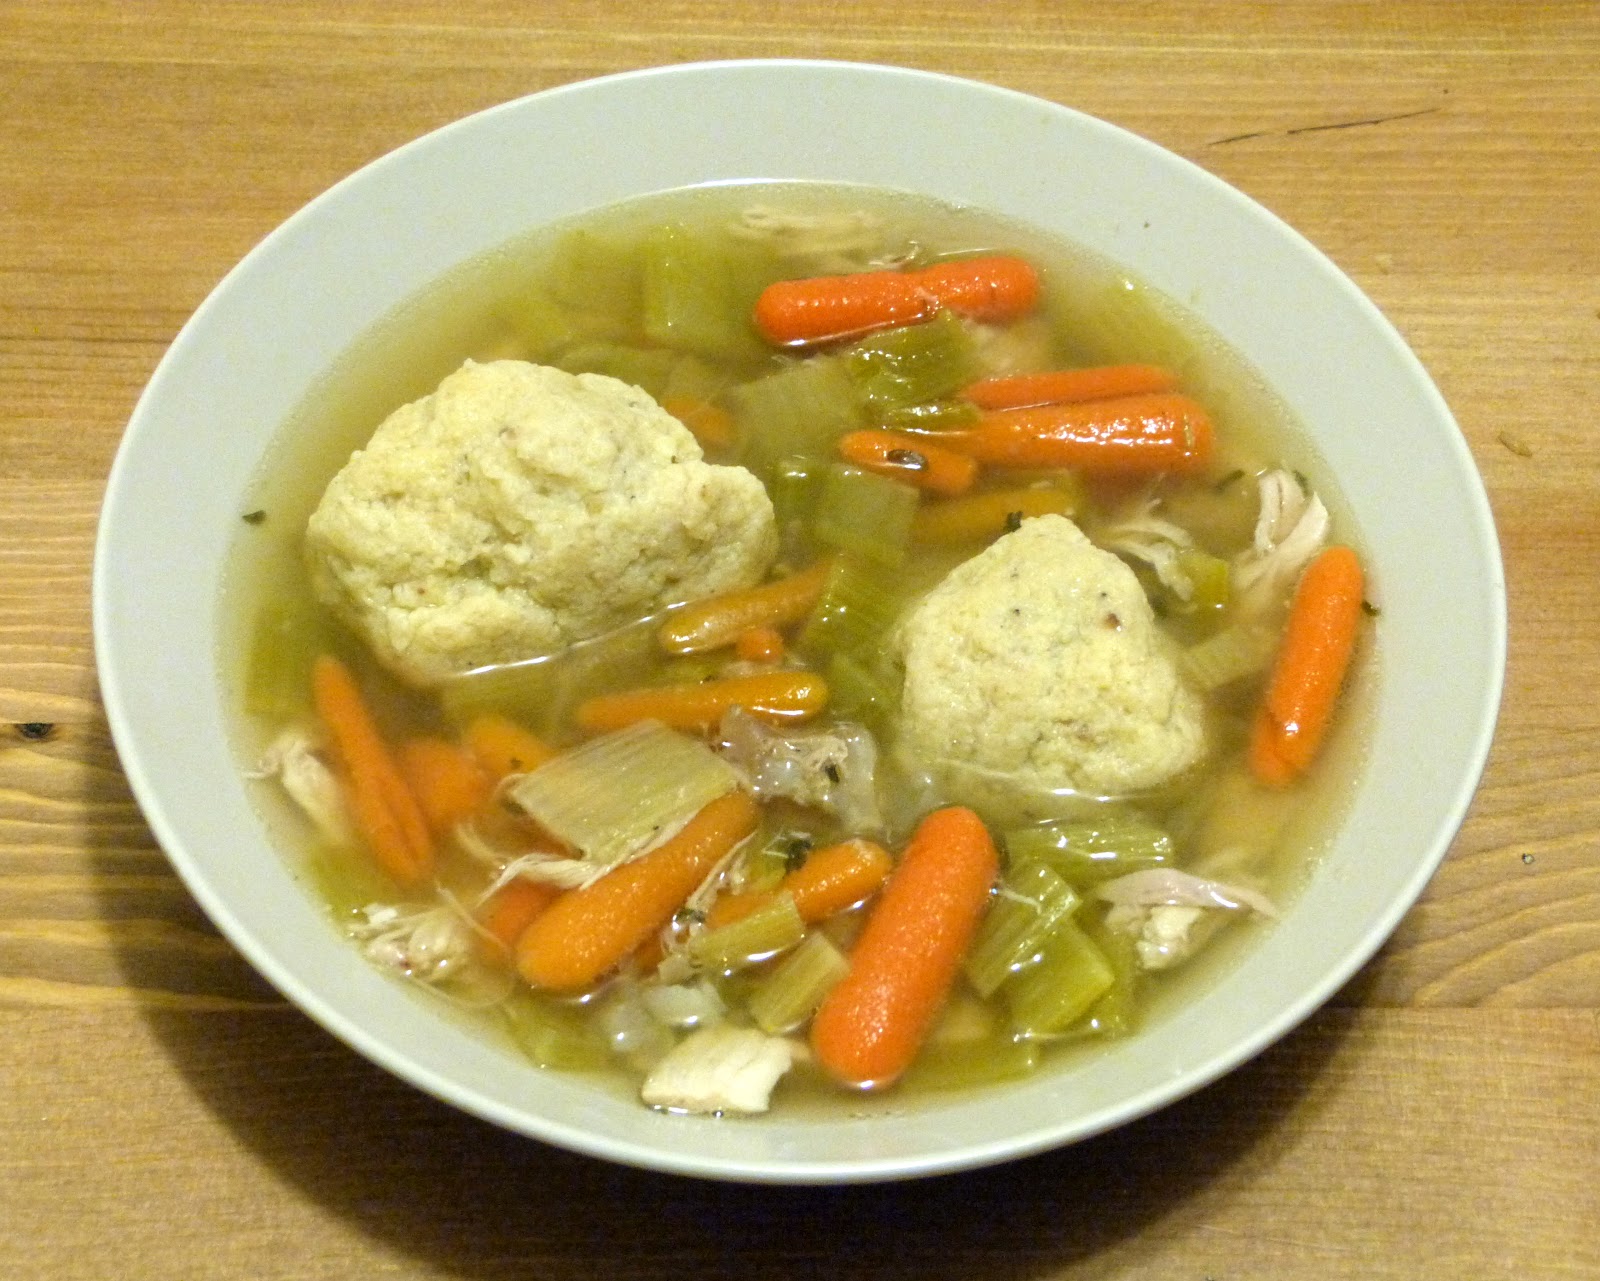
Welcome to a very special edition of No Free Lunch. For the first time, I'm featuring a dish not made by me. Ariel so kindly made me a pot of Matzo Ball Soup with the secret family recipe, to which you, my dear readers, are now privy to. With great power comes great responsibility; use this information with care. This soup is relatively simple in ingredients, but it is very tasty. The matzo balls are soft and tender, but they don't fall apart either. The chicken, cooked for 3 hours, falls right off the bone. This soup is quite reminiscent of the chicken and dumpling soup typically enjoyed by us gentiles, but the matzo balls are on a scale like nothing I've seen since experiencing the knödel of Germany.


Ingredients

Soup
  • One whole chicken
  • 1 bag baby carrots
  • 1 bag celery
  • 1 large onion
  • Dried parsley
  • 2 bay leaves
  • A lot of Salt
  • Black pepper
Matzo Balls
  • 4 eggs
  • 1/2 cup cold water
  • 2 Tbs oil
  • Dash pepper
  • 1 cup matzo meal

Instructions

Soup

Cut the chicken into quarters. Place chicken, carrots, onion, and celery in a large stock pot. Fill up the pot with water. Sprinkle a bit of parsley and black pepper. Generously salt the water, remembering that the pot is large and there is a lot of soup in there. Add bay leaves and bring to a boil, then reduce to simmer. Simmer for 3 to 4 hours.

Consider the gargantuan scale of this pot.

After simmering, fish out the onion and bay leaves, and discard them. Take out all the chicken and discard all bones, skin, and other undesirable parts. Set the chicken meat aside until serving.

Matzo Balls

Crack eggs in a bowl and beat. Add water, oil, and pepper. Mix together. Add the matzo meal and mix this in as well. Refrigerate the mixture for 1 hour.

Matzo meal mixture before forming balls

Form into balls no more than 2 inches in diameter. Size is up to your preference. Be aware they will absorb water while cooking and swell somewhat. Bring water to a boil in a large pot. Salt the water like you were making pasta. Cook the balls for 20 minutes. Push them down once when they float.

Matzo balls after cooking

To assemble the dish, heat up the chicken separately. Add however many matzo balls you and your pals intend to eat into the soup. Heat up the soup on the stovetop. Put the chicken in bowls and pour soup over them. Add matzo balls to each bowl.