Monday, July 23, 2012

Coq au Vin

Today I'm blogging from a new location, with a much appreciated gas stove. I'm also continuing the recent trend of "Francophilia" on Sans Déjeuner Gratuit. I have no idea if that was correct French. Coq au vin is a traditional, rustic, and hearty French dish, which, like many French dishes, lends itself to a multitude of regional and personal variations. Traditionally, the dish is made with an old rooster ("coq"), which necessitates a long baking time. With a regular chicken from the grocery store, we don't need to do that. I only baked mine for 30 minutes.

The wine used is generally a red Burgundy, but any good quality French red wine will do. Other variations exist, such as the Alsatian coq au Riesling, one of the many German cultural influences felt in the region. Whatever you choose, I must remind: only cook with a wine you would drink. I consulted, by way of their recipes, many eminent chefs for inspiration, including Julia Child and Alton Brown. In my version, I have attempted to reduce the number of steps, and I've chosen to throw basically all the ingredients in at once before baking the dish.


Ingredients
  • 5 strips thick side pork, bacon, or lardons
  • 1 whole chicken
  • 4 cups button mushrooms (or chopped up larger mushrooms)
  • 2-3 carrots
  • 2 stalks celery
  • 1/2 onion
  • 1 jar pearl onions, drained (about 25 pearl onions)
  • 2 tsp crushed garlic
  • 1/4 cup brandy
  • 2 cups chicken stock
  • 2 cups red wine (preferably Burgundian)
  • 1 bay leaf
  • A few sprigs fresh thyme
  • A few sprigs Fresh parsley, chopped
  • 2 tbs flour
  • Salt and pepper
  • Olive oil, as needed

Instructions

Cut the bacon or side pork (henceforth referred to as the "pork") into small pieces, about 2/3 inch wide. Cook in a large frying or saute pan until slightly crisped and plenty of fat is rendered into the pan. Remove the pork from the pan, shaking the excess grease back into the pan. Set aside in fridge.


While the pork is cooking, break down the chicken into pieces: 2 legs, 2 thighs, 2 wings, breast cut into 4 pieces, and back cut into 2 pieces. Keep the skin and bones intact. Clean the offal out of the back. Liberally dust with salt and pepper. Working in batches, brown all feasible sides of the chicken pieces in the pork fat and transfer to a large pot or dutch oven. 


Next, thoroughly brown the mushrooms. I did this in two batches. Transfer the mushrooms to the pot with the chicken. While browning the second batch of mushrooms, the pork fat dried up. If this happens, supplement with a little olive oil.


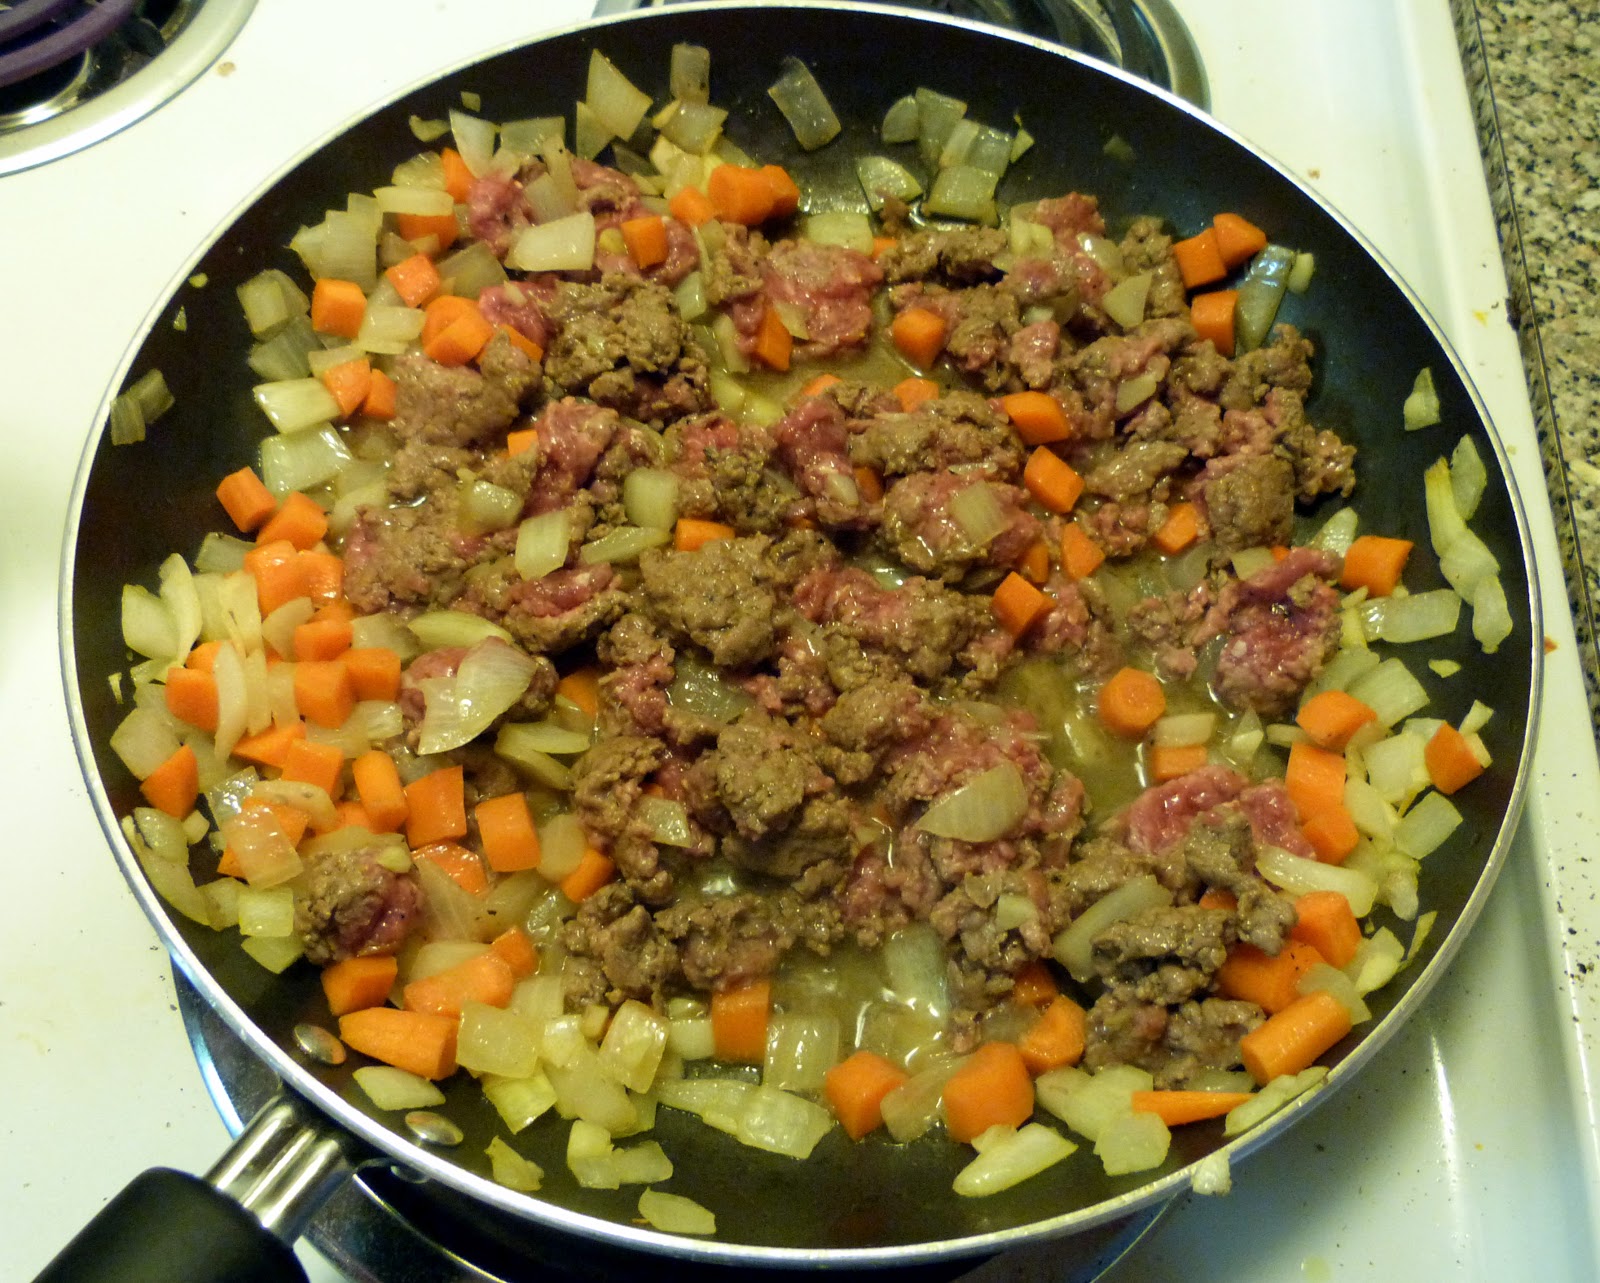
Finely dice the carrots, celery, and onion. Add these, along with the pearl onions and garlic, to the pan. Brown everything. Deglaze the pan with brandy and add to the pot. You can also wait and add the pearl onions at the end, which will preserve their structural integrity.

How many mirepoix photos on one blog is enough?

Add pork, chicken stock, wine, bay leaf, and thyme to the pot. Cover and bake at 375 degrees for 30 minutes.

Before baking

Take the pot out and put it on the stove. Turn up heat to high and bring to a boil. Take the chicken pieces out and set aside to avoid overcooking. Reduce for several minutes, by about half, until the flavors intensify. Add the parsley while doing so. Stir the flour in with a little water to form a slurry. Add to the pot and stir to integrate and thicken the sauce. Taste as you go. At the end, salt and pepper to taste. Mine didn't need any extra salt, but a little pepper gave it a boost.

Notice difference in color and "water level"

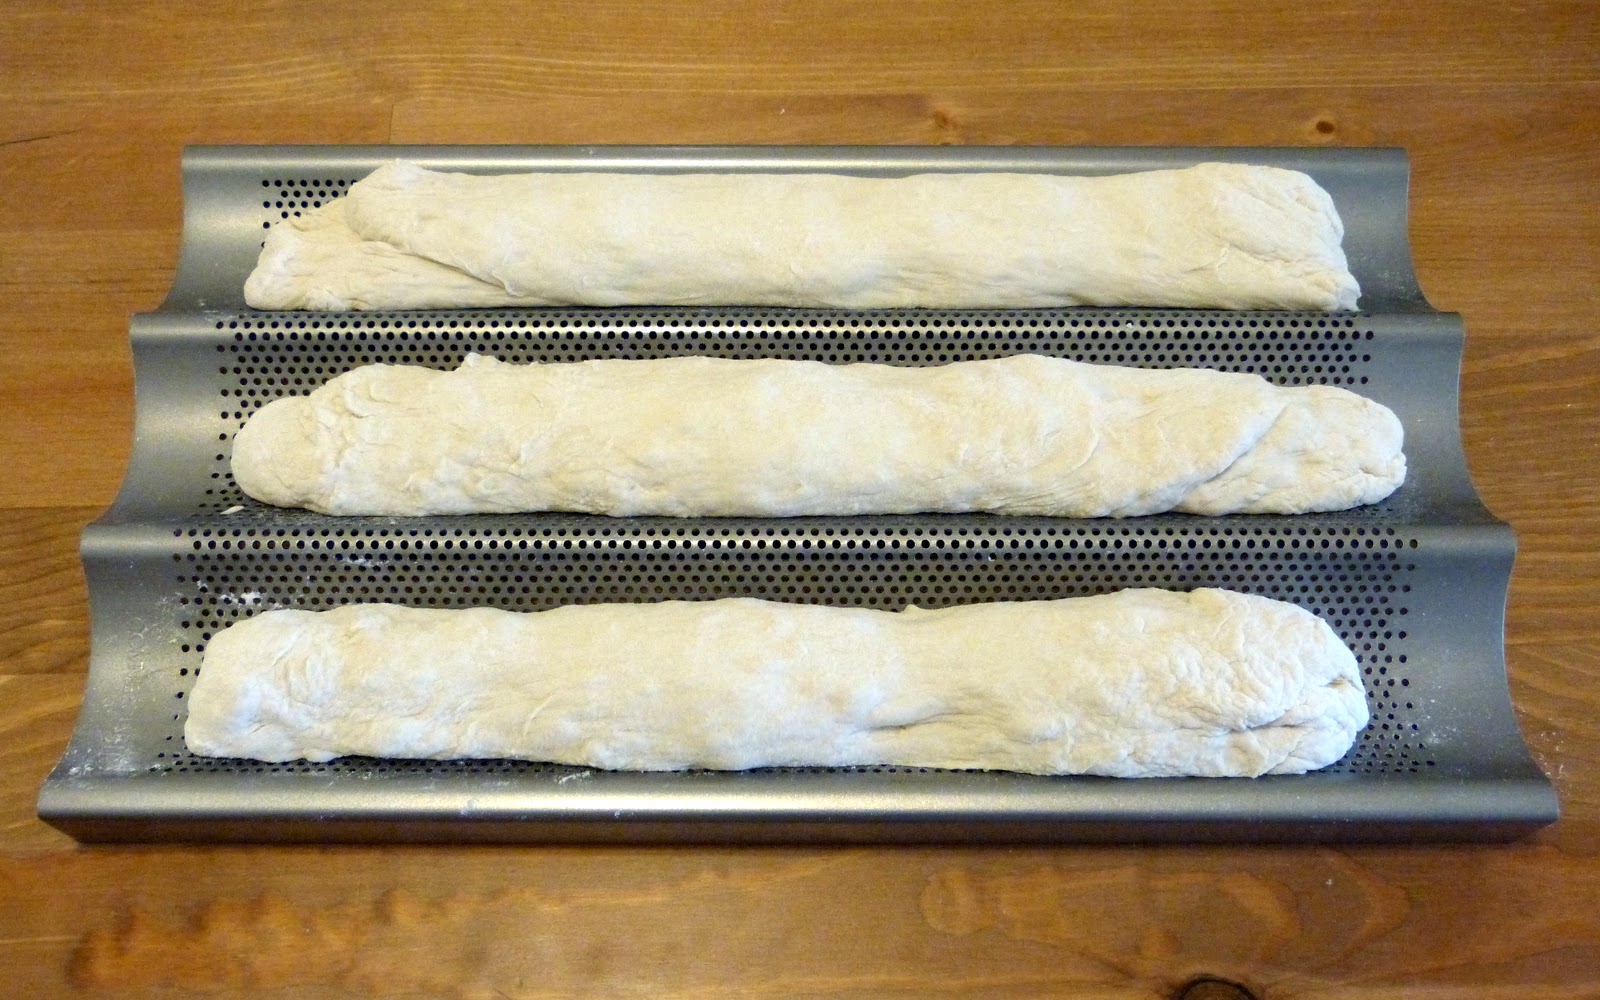
Remove bay leaf and thyme sprigs when done. Add the chicken pieces back in and simmer a few minutes. Serve with potatoes (mashed or boiled) or noodles and french bread.

Saturday, July 14, 2012

Steak au Poivre

Bonjour and a happy Bastille Day to you all, my dear readers. 223 years ago today, a Parisian mob stormed the Bastille in search of the stores of gunpowder held within, kicking off the French Revolution. Today, we celebrate with a delicious steak dinner. A few hours ago, I was looking on Wikipedia at the list of French dishes and found the steak au poivre. I started reading what it was and immediately got very hungry. The basic idea is a pan seared steak encrusted with peppercorns with a pan sauce of cognac and cream.

My recipe is based somewhat off a combination of The Joy of Cooking and my fellow bowtie enthusiast Alton Brown. The departure I took from the traditional method is that I used half and half instead of full cream to cut the richness a little. The flavors in this dish come together beautifully. The peppercorn crust cuts through the sauce just enough to assert itself. The traditional cut used is a filet mignon, but for those who aren't huge fans of that, use your favorite cut, or whatever you have on hand. I used top sirloin, and it came out very nicely.


Ingredients
  • 1 steak, your favorite cut
  • 1 tbs black peppercorns
  • Salt
  • 1 tbs butter
  • Dash of olive oil
  • 1/4 cup minced onion
  • 1/4 cup cognac
  • 1/2 cup beef stock
  • 1/4 cup half and half
  • 1 tsp Dijon mustard
  • A few leaves of flat leaf parsley, chopped

Instructions

Cut excess fat from the steak. Salt both sides of the steak as you normally would. Using a mortar and pestle, crush up the peppercorns. They should be coarsely crushed, with much bigger pieces than would come out if you used a pepper mill. Rub both sides liberally with the peppercorns.


Heat the butter and just a little olive oil in a saute pan on high heat. To get a good sear, we want the pan nice and hot. Lay your steak in the pan and cook for 4 minutes. Turn it over and cook another 4 minutes. You should generally leave it alone during each cooking period. Remove from pan and set aside to rest. Cooking the steak in this way will give you a beautiful pink-red interior. Do not overcook the steak, okay?


Add the onions to the pan and saute briefly, a minute or less. Deglaze the pan with cognac and reduce by about half. Add beef stock and half and half, bring to a boil, and reduce again by at least half, until desired thickness is reached. While you are doing this, add the mustard and mix it in.


Remove the sauce from heat. Add the parsley and mix in. You can salt the sauce to taste, but I didn't find it necessary. Spoon the sauce over the steak and enjoy! I had some simply roasted red potatoes on the side and a glass of 2010 North Point Petite Sirah. And for those wondering, it was arguably no 1904 Clos de Bèze, but it was quite delightful.

Thursday, July 12, 2012

Steamed Beef Dumplings

When I was in Shanghai 3 years ago, one of our favorite places to eat was a little restaurant down the street from where we lived. It was run by Hui - the Muslim nationality of China. We never knew the name of the restaurant, but if we were ever at a loss for dinner plans, someone invariably suggested "the Islamic place." No one ever objected. The food was inexpensive and good, but most importantly, the entire menu was displayed in photos all over the walls. Because of their dietary restrictions, this restaurant did not serve two very common elements of Chinese cuisine: beer and pork. Lamb or beef were found in a majority of the dishes, including the steamed dumplings.


Dumplings are a truly versatile food. I like this recipe because it uses very common ingredients most people will probably have lying around the kitchen. I didn't buy anything on the list with the specific intention of this dish, other than dumpling wrappers (which, as usual you could also make from scratch). These dumplings would also taste great with lamb. Green onions work well in most dumplings, also, but I haven't been able to get them in the grocery store recently.

"The Islamic place"

Ingredients
  • 1/2 pound ground sirloin
  • 1/4 onion
  • 1 big clove garlic
  • 3/4 tsp ground cumin
  • 1 tsp oyster sauce
  • 1/2 tsp soy sauce
  • 1/2 tsp salt
  • 1/4 tsp black pepper
  • 30 potsticker wrappers

Instructions

Coarsely grate the onion using a cheese grater. Mince garlic. In a bowl, combine the beef, onion, garlic, and all seasonings. Gently mix everything together until integrated. You can easily check your dumpling filling by pinching off a little bit, searing it in a frying pan, and tasting it.


Next, assemble the dumplings. Prepare a bowl of water. Take a wrapper and spoon a little filling into it. Make sure not to overfill or the dumpling will be hard to close. Dip your finger in the water and wet the outer edges of the wrapper. Fold over and pinch to seal. Pinch 2-3 folds to make it stand up, like with any potsticker. I made 30 dumplings.


Cut small pieces of parchment paper and lay them out inside a bamboo steamer. Put a dumpling on each. Get a pot of water boiling and place the covered steamer on top. Steam for 12 minutes. Like most dumplings, you can easily freeze the ones you don't want to eat right away.


A final request to readers: I put the dumplings on wax paper, and they stuck horribly. In my attempts to take the wax paper off, the bottoms of the dumplings went with. As such, I have recommended parchment, but I am not sure if that is better, or if there is another solution. If you know the answer, please leave a comment!

Tuesday, July 10, 2012

Fish and Tomato Curry

Today's recipe is really one from the heart, 100 percent my own creation. This is the second time I've made this dish, and both times, I tasted as I went along and adjusted the ingredient levels. It's a great example of what can come out of spontaneous creation in the kitchen. If you follow this recipe, I suggest you do the same.

The basic idea is a play on the tikka masala - a tomato and dairy based sauce with chunks of meat. Here I've gone with skim milk, which lends itself to a mouthfeel more sympathetic to a light fish like tilapia, rather than the traditional rich, silky cream sauce. Just a little half and half goes a long way to give my sauce a touch of creaminess. Lemon juice and white fish are old friends in food, and this addition gives a little edge to the sauce as well as calling to mind that familiar combination.


Ingredients

Fish
  • 2 large Tilapia fillets
  • Salt
  • Black Pepper
  • Paprika
Sauce
  • 1 onion
  • 1 - 1 1/2 cups sliced mushrooms
  • 2 cloves garlic
  • 2 tsp garam masala
  • 1 tsp turmeric
  • 1/2 tsp coriander
  • 1/2 tsp cumin
  • 1 1/2 tbs canola oil (or ghee)
  • 1 lemon
  • 1 cup crushed tomato
  • 1 cup diced tomato with juice
  • 1 cup skim milk
  • 1/2 cup half and half

Instructions

Season the Tilapia on both sides with salt, pepper, and paprika. A light dusting is sufficient. On medium-high heat, sear the fillets for 2-3 minutes on each side. Remove from pan and set aside.


Heat canola oil in the pan on medium-high. Note that for a more traditional Indian style, you could use ghee instead. Slice the onion into strips and mince garlic. Add all the spices to oil, followed by the onion, mushrooms, and garlic. Saute everything for several minutes, stirring frequently, until onions are very soft and lightly browned.


Slice the lemon in half and squeeze all the juice in. Add crushed and diced tomatoes, skim milk, and half and half. Mix together thoroughly. Bring to a boil and then simmer for 15 minutes. Taste the sauce and salt to taste. I added just a little bit to bring it all together. Break up the fish into smaller pieces and add to the sauce. Simmer for 5 more minutes.


Serve over steamed basmati rice. This curry pairs well with almost any drink. I went with a Warsteiner Dunkel - a Bavarian style dark lager. Just remember James Bond's advice and avoid the chianti.

Sunday, July 8, 2012

Spaghetti and Meatballs

Spaghetti and meatballs truly is a classic American comfort food. It's simple, hearty, and undeniably tasty. The dish is also one that lends itself to variation. I present a simple, basic sauce here that can easily be augmented with a variety of vegetables, herbs, or mushrooms. You could also spice it up with some crushed red pepper. My version here is light on sauce; adding another cup of crushed tomato will give you a saucier pasta. I've chosen to make my meatballs with equal parts ground beef, veal, and pork, and they really explode with flavor when you take a bite. It reheats very well, and I've been eating off of it for the last few days!


Ingredients

Sauce
  • 1/2 onion
  • 2 cloves garlic
  • Olive oil
  • 1/2 tsp dried basil
  • 1/2 tsp dried oregano
  • 2 cups crushed tomato
  • Water to taste
  • Salt and pepper to taste
Meatballs
  • 1/2 lb ground sirloin
  • 1/2 lb ground pork
  • 1/2 lb ground veal
  • 1 egg
  • 2 tbs grated Parmigiano-Reggiano
  • 1 tsp salt
  • 1/2 tsp black pepper
  • 1 cup breadcrumbs
  • Olive oil
  • 1/2 cup chicken stock
Everything Else
  • 1 1/2 lb dry spaghetti
  • Salted water
  • Grated Parmigiano-Reggiano
  • Chopped flat leaf parsley

Instructions

Start with the sauce. Dice the onion and mince the garlic. Drizzle a little olive oil in a saucepan and heat on medium high. Saute the onions until softened and browned, adding the garlic halfway through. Add the basil, oregano, and crushed tomato, and stir. Put on a back burner and simmer while making the meatballs, about an hour. Add water to thin the sauce to your desired consistency. Add salt and pepper to taste.


For the meatballs, combine the three meats in a bowl. Add the egg, cheese, salt, and pepper. Mix together with your hands until homogeneous. Little by little, add the breadcrumbs, mixing in until integrated. Form into meatballs, no more than 1 1/2 inches in diameter. I got about 30 meatballs out of it.


Heat olive oil on medium high in a large saute pan. Brown meatballs on all sides. Add chicken stock, cover, and cook until meatballs are cooked through, just a few minutes. You can crack open a sacrificial meatball if you need to check them. Note that the chicken stock will be partially, but not completely absorbed. I made the mistake of trying to cram them all in one pan. They made it, but it's easier to brown them if you either work in batches or in a very large pan.


Be aware that a large pot of water takes time to boil, so this should be started early. Boil a pot of salted water, and cook the spaghetti for about 9 minutes. Drain and transfer to large serving dish. Cover with meatballs and pour the sauce over. Serve with grated Parmiggiano, chopped parsley, and a red checkered tablecloth.

Friday, July 6, 2012

Chicken Marsala

When cooking with wine, always remember the rule: only cook with a wine you would drink. Marsala is a fortified wine of Sicily, and a key component of this classic dish. The wine adds a sweetness to the sauce. The recipe is easy and also adaptable. You could add more herbs, such as basil, or also incorporate onion and garlic into the sauce. The dredged chicken pieces get a great sear on the outside while remaining juicy on the inside. Dryness is an all too common fate for a chicken breast, so don't overcook it. The version here is sauce light. If you prefer a saucier Chicken Marsala, you can always add more wine and more stock, and adjust the other ingredients accordingly.


Ingredients
  • 1 split chicken breast
  • Salt and pepper
  • Flour
  • Olive oil
  • 1 cup sliced mushrooms
  • 1/3 cup Marsala wine
  • 1/3 cup chicken stock
  • 1/4 tsp dried oregano
  • 1/2 tbs butter
  • Chopped flat leaf parsley

Instructions

Remove the skin and bones from the chicken. Next, butterfly the chicken breast. This is probably the most difficult step, and mine admittedly didn't turn out the best. Cover each piece with plastic wrap and pound evenly to about 1/2 inch thick. Dust each side with salt and pepper.


Heat a little olive oil in a saute pan (preferably not non-stick), just enough to cover the bottom. Dredge the chicken in flour and add to the hot pan. Cook 3 minutes each side so the chicken is nicely seared. Remove chicken and set aside. I kept them on a plate in the oven on "warm."


Add the mushrooms to the pan and saute until nicely browned on both sides. Deglaze the pan with the Marsala, and reduce. Add chicken stock and oregano, simmer for several minutes. Add butter and stir until melted and mixed in.


Serve the chicken with the mushroom sauce poured over. Garnish with parsley. The dish goes well with any starch. I went with rice. As it turns out, the Pay Less supermarket of West Lafayette also has a good beer section, and I enjoyed a Woodchuck Summer cider with this meal.

Wednesday, July 4, 2012

Shrimp Étouffée

Happy Independence Day, my dear readers. I'm celebrating tonight with a classic dish of the American south, shrimp étouffée, a shrimp stew. The idea for this came two days ago, when, in an attempt to jazz up a boring bean dinner, I added celery, onion, and green bell pepper. The dish turned out well, and it occurred to me that I had the basic resources to craft some Cajun food - the "holy trinity," basically the Cajun version of the classic French mirepoix.

One thing I love about this recipe, aside from tasting great, is that it's the only time I've ever used the entirety of the shrimp. Having done some research before cooking, some suggest clam juice as a substitute for the homemade shrimp stock, but if time is not an issue I recommend this. If you, like me, are intimidated by the idea of making your own stock, remember you have to peel the shrimp anyway, so the extra effort is not significant. You can also keep the leftover stock for future meals; it would be great for wonton noodle soup.


Ingredients
  • 3 tbs butter
  • 3 tbs flour
  • 1/2 onion, diced
  • 1 green bell pepper, diced
  • 2 stalks celery, diced
  • 1 clove garlic, minced
  • 1/2 cup crushed or diced tomatoes
  • 1 1/2 cup shrimp stock (see below)
  • About 18 raw shrimp
  • 1 bay leaf
  • Salt and pepper to taste
  • Cayenne pepper to taste
  • Herbs and spices to taste

Shrimp Stock
  • Shells from (about) 18 shrimp
  • 1/2 onion, sliced
  • 2 stalks celery, diced
  • 1 clove garlic, minced
  • 6 cups water
  • Salt to taste
  • Canola oil

Instructions

Start out by peeling the shrimp. Set aside the shells; do not throw them away. Put the shrimp in the refrigerator for now. Heat a little canola oil in a pot. Toast the shrimp shells for a few minutes. The smell of shrimp will really waft at this point. You can cut the vegetables for the stock while this is happening. 


Add the water, onion, celery, and garlic. Bring to boil, then simmer for about an hour. When I did this, I actually started out with 8 cups of water and reduced it down to concentrate the flavor. You shouldn't need to do this if you start with less. 


Strain out the vegetables and shrimp shells. Salt the stock to taste. I didn't find that it needed too much. You will end up with a lot more stock than you will end up using here. Keep the rest in the fridge.


About halfway through simmering the stock, you can start on the rest of the dish. Start by melting the butter in a Dutch oven or otherwise roomy cooking vessel. Whisk in the flour to form a roux. Cook on medium heat for about 10 minutes. Add diced vegetables and cook until softened.


Pour in the shrimp stock and tomatoes, stirring to integrate. Season with salt, pepper, Cayenne, and whatever herbs and spices you like. I used a little oregano, parsley, and smoked paprika. Add they bay leaf and bring to boil. Pull back the heat and simmer for 20-30 minutes. This is a good time to de-vein and clean the shrimp.


Add shrimp. Cover and cook until shrimp are cooked through, about 5-10 minutes. Be careful not to overcook, or the juicy texture will be compromised and give way to rubberiness. Remove bay leaf. Serve over white rice.

Sunday, July 1, 2012

Grandpa's French Bread

I love featuring "tastes of my childhood" on No Free Lunch, and today's is perhaps more ingrained in my memory than any other. Grandpa has been making this bread for longer than I can remember. Not a day goes by that he doesn't have some in his house, and the dog wouldn't have it any other way. I vividly remember going to Grandpa's house and eating cheese toast made from this bread, with a slice of American cheese, slightly blackened in the toaster. It's also an ever-present component of Christmas Day brunch with sliced turkey and eggs. Even if you don't have the associated memories, this is a very nice bread, crusty on the outside and almost spongy on the inside, perfect with your favorite cheese.


Ingredients
  • 3 1/2 cups all-purpose flour
  • 1 package dry active yeast
  • 1 1/2 tsp salt
  • 1 1/2 cups hot water (105-115 degrees)

Instructions

In a large bowl, mix the yeast and flour. Push the flour to the sides to form a well in the center. Measure out the water, using a thermometer to check the temperature. Pour the water into the well. Circle the edge of the well with your finger, slowly absorbing the water as the flour gets mixed in. Mix everything together, forming the dough into a big blob.


Next, knead the dough. You can do this by hand or in a food processor with the bread attachment. Run the food processor for 45 seconds. This will, of course, take longer by hand.


Cover the bowl with plastic wrap and let rise for 2-3 hours. After rising, punch down, cover the bowl again and let rise for 1-2 more hours. 


Divide and form the dough into loaves. You can either make two big ones or three small ones.  While doing this, have some extra flour on hand to spread around if things get sticky. Place the loaves into lightly oiled french bread trays. Cover with a clean cloth and let rise for one more hour. Remember to preheat the oven partway through.


Bake the loaves at 425 degrees for 25-30 minutes. Spray the loaves every 3 minutes, 3 times total.


The bread is great fresh out of the oven, but you can also put it in the fridge or freezer to keep for later. It's also a great way to serve Ariel's strawberry jam.

Friday, June 22, 2012

Shepherd's Pie

Ahoy, my dear readers! Thanks to you, No Free Lunch has reached 4000 pageviews. Thank you for the continued support through my longer-than-expected creative nadir.

At West Lafayette's Pay-Less Supermarket, nestled between the ground beef and the ground bison,  observant shoppers can sometimes find ground lamb. Having wanted to make this quintessential British dish, I snapped it up yesterday. Making shepherd's pie, I discovered two things. First, it's quite easy to make. Second, it's relatively difficult to capture in a photograph. Despite this, it's damn tasty. You can substitute ground beef here, but then we would be cowherds, wouldn't we?


Ingredients

Mashed Potatoes
  • 5 potatoes
  • 4 tbs half and half
  • 3 tbs butter
  • Salt and pepper

Filling
  • 1/2 large sweet onion
  • 4-5 small carrots
  • 2 cloves garlic
  • 1 pound ground lamb
  • Splash of Worcestershire sauce
  • 1/2 cup peas
  • 1/2 cup crushed tomatoes
  • 1/4 cup chicken or beef stock
  • Olive oil
  • Salt and pepper

Instructions

Preheat oven to 400 degrees. Boil water in a large pot. Peel and halve potatoes. Cook potatoes until soft, so they can be poked easily with a fork. When done, drain and add half and half, butter, salt, and pepper. Mash well.


While potatoes are cooking, prepare the filling. Finely dice the onion and carrots. Mince garlic. With a little olive oil, saute vegetables on medium high heat for a few minutes. Add lamb. Break up the meat and add salt, pepper, and Worcestershire sauce. Cook until browned. Add peas, tomatoes, and stock. Mix thoroughly and let cook for a few minutes.


Pour the filling out into a casserole dish. Cover evenly with mashed potatoes. Use a fork to disrupt the top of the potatoes, so small peaks form. These peaks will brown in the oven. Bake for 20 minutes.


When serving, scoop all the way down to get everything. I enjoyed my Shepherd's Pie with a big glass of Murphy's stout.

Tuesday, June 12, 2012

Sangria

With summer here, it's time for some sangria. The recipe here is adapted from dad's. This sangria is a little lighter on the alcohol but very tasty, fruity, and refreshing. Typical sangria includes brandy, which is omitted here. Sangria is a versatile drink, and can include any fruit you want. Orange and lemon are the most common, but apples and berries are options, also. The wine I used here was a Borsao Garnacha (a steal at $6.99). Any young and fruity red wine will work. It doesn't have to be Spanish, but if that would be the most traditional.


Ingredients
  • 1 bottle young red wine, chilled
  • 2 cups orange juice, chilled
  • 3 lemons
  • 1/4 cup sugar (more to taste)
  • 1 orange
  • 12 oz. chilled sparkling water
  • Ice

Instructions

In a large pitcher, combine wine and orange juice. Quarter two of the lemons and squeeze all the juice into the pitcher. Stir in sugar until dissolved. Add sparkling water. Taste the sangria and add sugar to taste. Slice remaining lemon and orange and add to pitcher.

Serve with ice and fruit slices.

Saturday, June 2, 2012

Ariel's Amazing Strawberry Jam!

Hi all! I am commandeering Sebastian's blog for today. For those of you who don't know me, my name is Ariel, and I am Sebastian's girlfriend. I came down to visit as he gets into major studying mode for his upcoming exams. So I've had a lot of time on my hands to be domestic. Last Sunday, we went strawberry picking. It was a gorgeous day and a really beautiful farm. We got a ton of berries.... and I simply didn't know how we would eat them all before they went bad. So in addition to making a yummy strawberry banana smoothie and delectable chocolate covered strawberries, I decided to try my hand at jam making. After all, how could I get much more domestic than that? It turned out quite well, so I thought I'd share with you, dear readers.


P.S It is MUCH easier to make jam than I thought it would be!!

Ingredients
  • 6 cups crushed strawberries (instructions for crushing below)
  • 4 cups sugar (divided 1/4 and 3-3/4 c)
  • 1 box less sugar pectin (I used Sure-Jell Premium Fruit Pectin)
  • Wide mouth funnel
  • 8 half pint jars with lids and screw tops


Instructions

First you have to sanitize your jars. I used 8 half pint Ball jars. Throw them and the screw tops in a dishwasher without soap. Keep them in the warm steamy environment until you're ready to use them. The flat tops will go into hot water to be sanitized later. 

Next crush the fruit. To do this, use a potato masher and crush till you get a pulpy mess. Put it into a large (4-8 quart) pot. 


Mix 1/4 cup of sugar with the whole box of pectin.  Stir into the fruit. 

On high heat, bring to a full rolling boil, stirring CONSTANTLY.  This means the bubbles won't go away when you stir them. 


Heat up some water (not quite boiling) and add the jar tops to sanitize and soften up the rubbery surface. This will make a better suction. 

Add the rest of the sugar (3-3/4 cups) to the pot. Return to a rolling boil and boil for 1 minute. Remember to keep on stirring. It might take a little bit to get back to the rolling boil. This is fine. Remember, you just added a bunch of sugar to the mix.  


Remove from the heat.  There will be a lot of foam on the top. Scoop as much off as possible. Tip: Store the foam in a plastic container and refrigerate. You can reconstitute it in the microwave and enjoy as regular jam then.

Test to see if your jam is jelled enough. Take a spoon that was sitting in a glass of ice-water. Put a bit of jam on it and let it cool to room temperature. If it becomes the thickness you like, start filling your jars! If not boil for another minute. 

Ladle the jam into your sanitized containers (straight from the dishwasher!) Fill them to within 1/4 inch of the tops. Mine filled up 7 full jars and about 3/4 of the eighth one.  Tip: It will make your life a lot easier, and your kitchen a lot neater if you use a wide mouthed funnel to help you with this. 


Put the lids on and screw tops down until they are hand tight. Place jars into a large pot of hot water, covering the jars with 1-2 inches of water.  Bring to a gentle boil and boil for 10 minutes. Take them out and place on a towel to cool. When the jars are cool, check to see if they are sealed properly. (Does the center of the lid spring back when you push on it? If so, place in fridge for immediate consumption. If not, you're golden and your jam will stay fresh for about a year.) Tip: Use tongs for this step! They will be VERY HOT.

Leave them set out at room temperature for 24 hours.


You are ready to enjoy! Once you open your jar, it will keep for about 3 weeks. If it stays sealed, it will stay about a year.

Sebastian and I have not cracked open a jar yet, but we ate up my container of foamy jam on some homemade crepes and it was delicious! I can't wait to pass out my homemade jam to family and friends.