Showing posts with label deep fried. Show all posts

Monday, October 26, 2020

Sweet and Sour Fish (糖醋魚片)

With how busy things have gotten this semester, I haven't had as much time to blog or even make particularly interesting meals. We are still planning out two weeks worth of meals to minimize exposure, and trips to the Chinese store have been especially rare. Today's recipe is a classic sweet and sour fish that doesn't have any hard-to-find ingredients. Sweet and sour fish is a beloved dish in our household, and this was a request from Ariel. I jumped into volume II of Pei Mei's Chinese Cook Book to see what I could find. This is an adaptation of Pei Mei's "fish rolls in sweet and sour sauce." Pei Mei's dish involves wrapping the fish in tofu skin to make little packages, which are then deep fried. I didn't have the tofu skin, so I adapted this into a more standard sweet and sour fish with dredged fish slices. The original recipe is called tangcu yujuan, or "sweet and sour fish rolls." I'm calling mine tangcu yupian, which means "sweet and sour fish slices."


This dish is superficially similar to the fish slices with tomato sauce recipe I did in 2018. For the fish, we start with an egg-white based marinade, dredge, and quickly deep fry. I continued my experimentation with potato starch this time. No matter what you do, the crunch doesn't last too long in the sauce, but this did retain some, and I was happy with the result. You can always use corn starch instead, but the crust you get from potato starch is nice. The sauce is the classic mix of rice vinegar, sugar, and ketchup. I personally prefer my sweet and sour fish more on the sour side, so I cut the sugar down quite a bit. The sauce did get a little too thick with the full tablespoon of corn starch here, so I think I would cut it to 2 teaspoons next time. Although the fish and sauce are similar to the other recipe, the other ingredients are not. Instead of peas, onions, and mushrooms, this one uses the classic aromatic combination of scallion, ginger, and garlic. This places the fish firmly as the star of the show. Overall, this was another successful Pei Mei adaptation that I would definitely recommend giving a try.

Friday, August 7, 2020

Shrimp Toast (麵包蝦仁)

Today, I'm pleased to present another creation from the Joyce Chen Cook Book. Shrimp toast is a Cantonese dim sum item I've had a few times in restaurants, but never thought about making at home until now. Like most of Chen's recipes, it's quite simple, but satisfying, and uses ingredients easily found in American supermarkets. Everything in the recipe stores well, so it's another good "Corona Cuisine" option. The Chinese name mianbao xiaren translates to "bread shrimp meat." Once such a thing is possible again, I think these would be great party food to pass around with some cold beers.
The texture of the cooked shrimp mixture is best described as "springy." It's quite unique to and common in Chinese food. Western recipes for ground meat dishes, like hamburgers or meatballs, often warn against overmixing to maintain a loose texture. Chinese meatballs, on the other hand, are dense and springy. The bacon is a clever shortcut to incorporating some fat into the mixture, while also adding flavor. The minced water chestnuts are a great addition, as you get little pockets of crunchiness every now and then. My only real complaint about the dish is that the bread absorbed too much oil and got a little soggy on the bottom. This could be a combination of the very basic supermarket white bread I used and my decision to rest them on paper towels instead of a rack. As such, I'd recommend the latter.

I have basically reproduced Chen's recipe, but with more detailed instructions. She only says to grind the meat with no technique mentioned. The food processor got this done efficiently. Mincing very aggressively with a knife would probably work, as well. As usual, Chen adds some MSG here, which I don't have on hand. Also notable from the book is that there is a companion recipe for shrimp balls, which use the same shrimp mixture, but formed into balls and deep fried. I didn't try that, but it would provide a gluten-free option, if you're into that kind of thing.

Sunday, July 26, 2020

Breaded Tenderloin Sandwich

Indiana was my home from 2011 to 2018, a period of time which not only birthed my career in academia, but also this blog and my interest in writing about food. Indiana is surrounded by places with famous local specialties, including Cincinnati (chili), Louisville (hot brown, mint julep), and Chicago (pizza, hot dogs, Italian beef, and more). Although it's not as well known in other parts of the country, most Hoosiers would probably tell you the breaded tenderloin sandwich is their state's most iconic food. Versions of this sandwich can be found at restaurants all across the state. There are subtle variations in how they are made, but if the pork cutlet doesn't hang well outside the bun, it's not a tenderloin. I've seen some as big as a few inches on each side. My personal favorite tenderloin was from our local spot in West Lafayette, Dog N Suds, located just around the corner from our old house. A side of cheese curds and root beer in a frosty mug completes the experience. 


The tenderloin has a lot in common with cutlet dishes from around the world, which regular readers know I love. The breading process uses the classic flour-egg-breadcrumb combination, but the breading is usually coarser and more heterogeneous than a Wiener schnitzel. I used crushed saltine crackers to achieve this, and I think it worked very well. Most diners cook the cutlets in a commercial deep fryer, but for the home version, shallow frying in a skillet gets the job done. The pork is meant to be the star of the show, and the supporting players are up to personal preference. The bun is a usually a basic hamburger bun. The classic toppings are ketchup, mustard, and pickles, but feel free to add others. We put in some lettuce and Kewpie mayonnaise. I had some cucumbers that were on their way out, so I made my own pickles loosely based on Kenji's recipe. 

This is a pretty simple recipe, but one that transports me back, much like the Duane Purvis All-American. Tenderloins do show up in Iowa, as well. The only place I've seen them in South Dakota (so far) is Tastee Treet in Yankton, which serves it with a piece of cheese. While that would never be done in Indiana, it's an interesting variation. It reminds me a bit of how Germans like to sauce their schnitzels, to the horror of Austrians, who only garnish theirs with a lemon slice. When it comes to such debates, if it tastes good to you, you did it right.

Saturday, July 11, 2020

Fried Calamari

I've enjoyed fried calamari for as long as I can remember. Back when people went to restaurants (remember those?), Ariel and I often shared a plate for an appetizer. I recently started experimenting with making calamari at home. Crunch is the difference between mediocre and great calamari, so I've tried a few different ways to coat the squid. Lately, I've been using potato starch, which is the basis of this post. Potato starch is a useful Passover thickener, but it has its place all year round.


I got the idea of using potato starch from making karaage -- Japanese fried chicken. The potato starch gives the calamari a great crunch, just as it does for chicken. At first, I thought this was a great innovation on my part, but it turns out karaage can be made with all sorts of things, squid included. Even if I didn't invent this dish, it's still a good one. It works best to dredge the squid a few pieces at a time. I have also tried adding the starch directly to the bowl of squid, but all the liquid turns it into a goopy batter that doesn't stick to the squid.


The squid I use come from Thailand. I get the 2 pound box from a Chinese store for $15. The size of these squid is about perfect for the classic fried calamari. They come cleaned already, so all you have to do is cut them up. This recipe makes a big platter, which was more than enough for dinner. While they are best eaten immediately, the leftovers reheated decently in the toaster oven.

Monday, June 15, 2020

Fish Fillets with Corn Sauce (粟米斑塊)

I've been meaning to write this post since I started No Free Lunch. Fish fillets with corn sauce was one of my childhood favorites, which my dad made somewhat frequently. We just called it "corn fish." It was often one of the meals we had when I came home from college. He apparently discovered the dish in his own childhood in a restaurant in Hong Kong, where he shared a plate with my uncle. While it is not an iconic dish in the pantheon of Chinese cuisine, it certainly is to me. I found a few references to the dish, with the most common Chinese name being sumi bankuai, which I think means "corn grouper fillets." This hints at the fish originally used, so I think any firm, white, ocean-going fish would be appropriate. 


Creamed (or cream-style) corn is an interesting ingredient, though not an uncommon one. Despite the name, it does not contain cream, and the creaminess is all from the corn itself. While we Americans love it, corn is not a popular ingredient in Chinese cuisine. I think it's telling that this is a distinctively Hong Kong dish, which has had a long history of western influence. For the fish, you could use any white fish, but I usually use cod. This is probably the most accessible fish of the type we're looking for, and I had some individually packaged frozen fillets. As with most of my Chinese dishes, I used my homemade Chinese shrimp stock. Any kind of chicken or seafood stock would be also be fine here.

The way Dad always made this was a little different from what I did here. The fish were much larger pieces and battered similar to the fish and chips style. I decided to go the more traditionally Chinese route with a simple marinade and corn starch dredging. This is based on what I did for fish slices with tomato sauce, a similar Cantonese fried fish dish from Pei-Mei's Chinese Cook Book. I like the smaller pieces, as its easier to eat with chopsticks, but the battered version is extra crunchy. You won't go wrong either way.

Thursday, June 11, 2020

Sweet and Sour Spareribs (糖醋排骨)

Sweet and sour spareribs are the first recipe I've done from the "Eastern China" section of Pei-Mei's first volume. This region includes Shanghai and the surrounding provinces of Zhejiang, Jiangsu, and Anhui. Although this is the region of China I've personally spent the most time in, I didn't delve into the local specialties as much as I should have. When I started researching this post, I quickly discovered sweet and sour spareribs are a famous Shanghai-style dish. The name tangcu paigu literally translates to "sugar-vinegar spareribs," which definitely describes it well. While the recipe looks simple, the deep frying does turn it into a bit of a process. The end result is everything I want from a sweet and sour dish: crisp, tender meat in sticky but complex sauce. Serve with rice and let the sauce soak right in and don't be afraid to get in there and clean off the bones. 


Back in 2015, I made Pei-Mei's Cantonese-style sweet and sour pork. Despite the similarity in names, the two dishes couldn't be more different. Although both dishes use the double frying technique (also commonly done with french fries to get maximum crispiness), the Cantonese pork is dredged in a corn starch coating, whereas these ribs are not. They get a nice brown crust similar to what you would see on fried Buffalo wings. The sauce made for the ribs is dark brown from the combination of soy sauce and black vinegar. The Cantonese version has a reddish sauce based on ketchup and white rice vinegar. Both are great dishes, but this one really shows sweet and sour dishes go far beyond the box we often put them in. 

The ribs are the central ingredient. I don't often see spare ribs cut across the bone like this, so I always snap them up when I can. We got these at Costco a few months ago and froze them. The sauce has the usual suspects of soy sauce, Shaoxing wine, and black vinegar. Since this was a quick marinade and sauce, I went with all light soy sauce, but putting in a bit of dark in the mix wouldn't be unwelcome. While the end result was excellent, it was a little on the sweeter side of what I look for in a sweet and sour sauce. As such, I've noted in the ingredient list that the amount of vinegar can be increased to taste. My recipe is a rough doubling of the original, with some adjustments made.

I've been reading a lot Pei-Mei recipes recently, and she deep fries a lot of food. As I've mentioned before, I find deep frying a hassle and don't do it often. However, the crispy-fried meat is, to me, a cornerstone of sweet and sour dishes. It's also an interesting novelty to deep fry spare ribs, a cut that's usually braised or smoked in western cuisine. My research also confirmed this is the traditional approach for this dish. You could probably get away with stir frying, baking, or broiling, all at very high heat, but you won't get the same evenly browned, crispy ribs.

Tuesday, June 9, 2020

Spring Rolls (春捲)

While most of my interpretations of Pei-Mei dishes are quite obscure from an American point of view, spring rolls are one of the most iconic Chinese dishes. In addition to being a classic dim sum item, they are also popular in other parts of Asia, such as Thailand and the Philippines. Fillings vary greatly. Pei-Mei's version has a mix of pork, cabbage, and shrimp which would also be great on chow mein (omit about half the corn starch). The Chinese name chunjuan does translate directly as spring (the season) roll. These spring rolls are tasty and crispy, and a good traditional example of the dish.


Let's dig into some specifics of the recipe. Pei-Mei recommends using "lean pork" and cutting into strings. I honestly misread the recipe and used ground pork, which was perfectly fine. For the vegetables, the recipe just says "cabbage" on the English side. On the Chinese side, baicai can be either what we call napa cabbage or bok choy. Napa is what we had, and I think it's probably the better choice, since its a bit thinner. Like a lot of Pei-Mei's recipes, this one involves soup stock. This is made relatively easily by simmering chicken and/or seafood with a little green onion and ginger. I make mine with shrimp shells I save every time we eat shrimp. Western-style stocks usually involve onion, carrot, and celery and will have a different flavor, but should work in a pinch.

For the skins, we found frozen ones at a Chinese store and defrosted in the refrigerator the day before. Pei-Mei says the recipe makes 20 spring rolls, we only got 14 out of it. I think we could have stretched that to 15, but definitely not 20. Pei-Mei is fairly vague about the rolling procedure, but it read to me as rolling straight-on, whereas most recipes I've seen online roll diagonally (Woks of Life, for example). In retrospect, I would do the diagonal fold next time, as the way we did it, you get twice as much wrapping on the ends as in the middle. They still fried up perfectly fine, though, so it's rather forgiving. Overall, they turned out well, but were a little too salty for my taste. As such, I've marked the added salt in the sauce as optional. 

Friday, February 23, 2018

Fish Slices with Tomato Sauce (茄汁魚片)

Without any premeditation on my part, the last four recipes I've posted have involved pork, so I'd say its time to shift gears and do some fish. Sweet and sour fish is one of those dishes I frequently enjoy when eating out, but had never tried making at home. Along with eggplant Sichuan style, it's often one of the first dishes I try at Chinese restaurants. There are a lot of variations, and I tend to prefer a more vinegar-forward profile rather than a sweeter one. Peimei has a sweet and sour fish recipe found in the Eastern China section of her first book (this refers to Jiangsu, Zhejiang, and Anhui provinces, along with the city of Shanghai). This recipe begins with chopping the head off the fish, butterflying and deboning. The fish is battered and fried to spectacular results, and Peimei comments that "most of our foreign friends prefer this way." I did not have a whole fish nor the desire to undertake this. 


What I did have was a pound of assorted cod bits I picked up at Trader Joe's for four bucks. I found another recipe in the Southern China section (Guangdong and Fujian provinces and the city of Hong Kong) that involved fish slices and a very similar sauce, called "fish with tomato sauce." The Chinese name is pronounced qiezhi yupian in Mandarin. I was puzzled by this at first, since the most literal translation would be "eggplant sauce fish slices." This being a southern recipe, I asked Dad for some context and found out the Cantonese pronunciation of qiezhi contains the key: keh jup, thought by many to be the origin of the English word ketchup. The usage of qie here is just an abbreviation for fanqie, the Chinese word for tomato. Amusingly, this literally translates to "foreign eggplant."

The recipe itself is pretty simple. Rather than battering the fish, we simply dredge it in cornstarch after marinating, much like in the sweet and sour pork recipe I posted three years (it's been that long already?) ago. As I mentioned above, I used cod pieces, which were of assorted shapes and sizes. This wasn't ideal, and I would recommend starting with proper fillets and cutting the slices to be more uniform. Cod worked well here, but other fish would do fine. I will probably try it with swai in the future. Overall, I enjoyed the dish, but would make it more vinegar-heavy next time to suit my own preferences.

Ingredients

  • 1 lb. white fish fillets (I used cod)
  • 1/2 small onion, diced
  • 10 (approx.) small black mushrooms
  • 1/4 c green peas
  • 1/2 c (approx.) cornstarch for dredging
  • Vegetable oil for frying
Marinade
  • 1 egg white
  • 1 Tbs cornstarch
  • 1/2 tsp salt
Sauce
  • 3 Tbs sugar
  • 3 Tbs white rice vinegar
  • 6 Tbs water
  • 3 Tbs ketchup
  • 1 Tbs Shaoxing wine
  • 2 tsp cornstarch
  • 1/2 tsp salt
  • 1 tsp sesame oil

Instructions

Start out by soaking the black mushrooms in warm water. I press a folded paper towel on top of the mushrooms to keep them covered with water. Check after half an hour. If the mushrooms are still firm, chop in half, remove stems, and resume soaking. When mushrooms are fully softened, squeeze water out and dice.

Fish pieces marinating

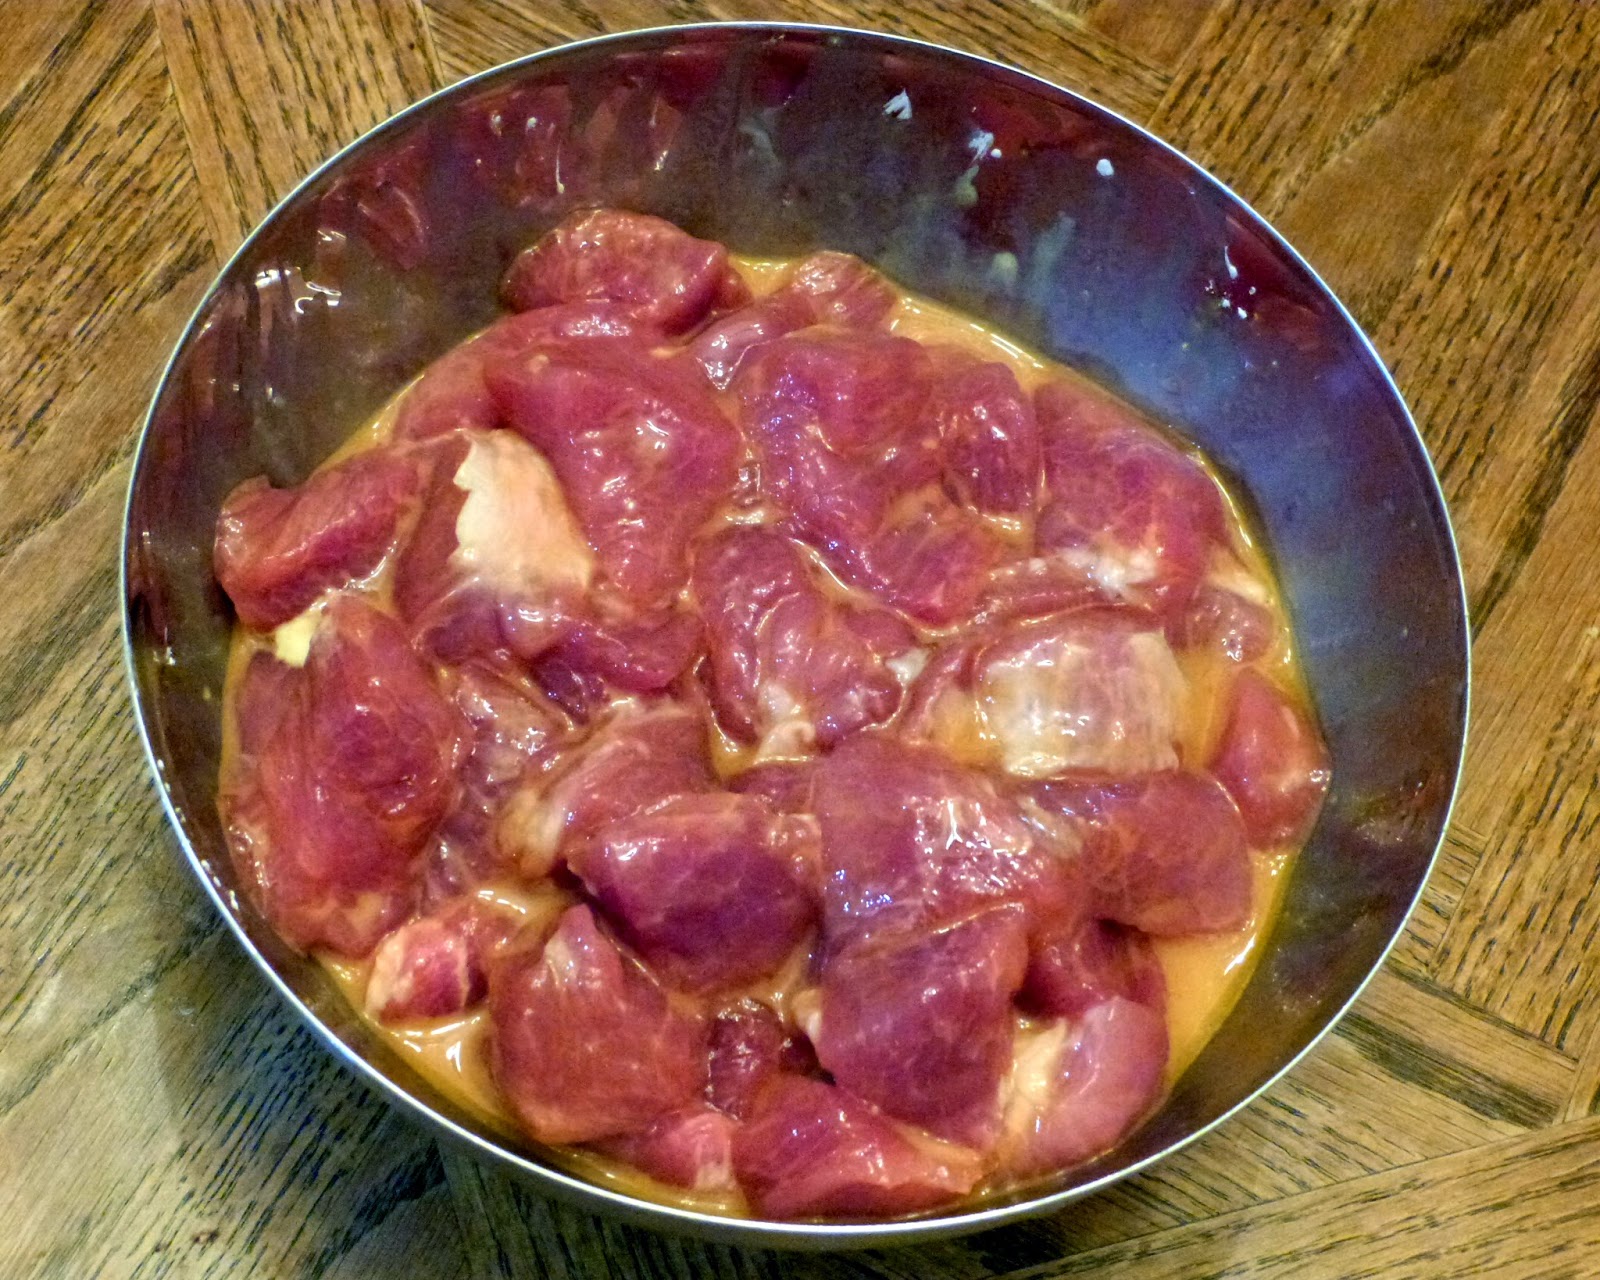
After starting the mushrooms soaking, prepare the fish. Cut fish into small pieces, about one inch squares. In a large bowl, mix the marinade ingredients, add fish, and toss to coat well. Let the fish marinate in the fridge for about 30 minutes.

While the fish is marinating, mix all the sauce ingredients in a bowl and keep ready for later. This is also a good time to dice the onion.

Fish after frying

Preheat oil in deep fryer or wok to 375 degrees F. When the oil is ready, spread cornstarch on a plate and dredge the fish slices on both sides. Fry in batches until crunchy. Each batch should take no more than a minute in the oil. Set the cooked fish aside on a paper towel lined plate.

Sauce, ready to add the fish

Heat a small amount of oil in a wok on high heat. Stir fry the onion and mushroom for about one minute. Stir the sauce again and add to the wok. Add the peas and cook for another minute. Add the fish. Turn the burner off and toss to fully coat the fish. 

Notes

This is one of my most faithful recreations of a Peimei dish. I did increase the amount of peas from the original. The amount of mushrooms and peas can be adjusted to personal taste. If I made this again, I would probably also increase the vinegar-to-sugar ratio bring the sourness forward a little more.

Saturday, April 15, 2017

Kosher for Passover Scotch Eggs

Passover always presents a culinary challenge. Eliminating flour is one thing, but cutting the traditionally avoided kitniyot (beans, corn, rice, and other grains) is quite another. My reliance on bean-related ingredients (fermented and otherwise) usually means I do little cooking during the week of Passover. My only contribution this year was chicken kebabs and brussels sprouts. Ariel suggested I make a kosher for Passover version of Scotch eggs. Scotch eggs were one of my earliest posts, and remain a family favorite, so this sounded like a fun experiment.


I will always maintain Scotch eggs are deceptively easy to make. The only trouble is the moderate hassle of deep frying. The basic recipe involved the time-honored breading technique of flour, egg wash, then breadcrumbs that I've used in several other recipes. The flour and breadcrumbs are replaced by two Passover-friendly ingredients: matzo cake meal and matzo meal. The cake meal is made of ground matzo, and is roughly the consistency of flour, while the matzo meal generally resembles breadcrumbs. This is my first time using these ingredients, so they are still somewhat "exotic" to me, the results were great. I used a basic bulk breakfast sausage here, but as I noted on the original recipe, any will do. 


Ingredients
  • 4 hard boiled eggs
  • 3/4 lb. sausage
  • 1 raw egg
  • Matzo cake meal
  • Matzo meal
  • Vegetable oil for frying

Instructions

Preheat oil in a deep fryer, wok, or saucepan to about 375 degrees F. Use enough oil to mostly submerge the eggs. 

Divide the sausage into four equal balls. Flatten and wrap around each egg. Carefully work the sausage until eggs are completely encased. Roll the balls around in palms to make sure covering is even and sealed. 

Spread a little cake meal on a plate and dredge the sausage-covered eggs all over. Beat the raw egg in a bowl. Spread out the matzo meal on a plate. Dip each Scotch egg in the beaten egg, roll around to coat, then dredge in the matzo meal until thoroughly coated.

Carefully drop the eggs into the hot oil and cook until golden brown, about 5 minutes. I cooked them in pairs in my small deep fryer. Cut in half for serving. I use a serrated bread knife to cut, as this allows cutting through the crunchy exterior cleanly. I served with a mix of mayonnaise and Sriracha sauce.

Monday, March 23, 2015

Sweet and Sour Pork (咕嚕肉)

A lot of Pei Mei's recipes follow the same basic pattern: Marinate meat, deep fry meat, cook aromatics and sauce, and toss meat in sauce. Lovers' Shrimp and Diced Fish with Fermented Black Beans are good examples of this kind of recipe. It's a formula that works well. The one step I usually skip, as I did with both those recipes, is the deep frying. I usually don't think it's worth using so much oil and going through the hassle when the meat is going into a sauce anyway, so I just stir fry the meat. Sometimes, though, the crunchiness that only deep frying can provide is an integral part of the dish. 


I believe sweet and sour pork is one of those dishes where crunchiness is important, so the Fry Daddy (last featured in 2012's "Pub Week") came out to play. I did not make too many changes from the original recipe this time. The salt is lowered a bit, and the pepper-to-pork ratio is a little lower (Pei-Mei's ambiguous "2 green peppers" may have been smaller than mine). The main change is that the whole recipe is scaled up from the original 1 lb. of pork so that I could use up the pork left in the aftermath of last week's shaomai. As usual, I dug into what the Chinese name actually means, and gu lu rou literally means "mumbling meat." Maybe your mouth is supposed to be too full of delicious pork to talk properly. I'm going with that.

The only special ingredient that needs mentioning is white rice vinegar. Compared to black vinegar, this is a lot more common in the international section of the grocery store.

Ingredients
  • 1 3/4 lb pork tenderloin
  • 2 bell peppers (I used 1 red and 1 green)
  • 6 slices canned pineapple
  • Cornstarch for dredging
  • Oil for frying
Marinade
  • 1 Tbs soy sauce
  • 2 Tbs cold water
  • 2 Tbs cornstarch
  • 1/2 tsp salt
  • 2 egg yolks
Sauce
  • 5 1/3 Tbs white rice vinegar
  • 7 Tbs sugar
  • 7 Tbs ketchup
  • 8 Tbs cold water
  • 5 tsp cornstarch
  • 1 3/4 tsp salt
  • 1 3/4 tsp sesame oil

Instructions

Cut pork into small chunks, about 1 inch cubes. Toss in a bowl with marinade ingredients to coat. Let rest in refrigerator for at least 30 minutes.


Cut the peppers in half and remove stems and seeds. Dice into small pieces. Cut the pineapple slices into similar-sized pieces. I made 8 small pieces out of each slice. Side all this aside for later. This is also a good time to mix together the sauce ingredients. Use a whisk to combine well.

The mighty Fry Daddy

Heat oil in a wok, deep fryer, or pot. If using a wok, especially on an electric stovetop, you need to be careful about stability. For this reason, I used the Fry Daddy. Dredge each pork piece in cornstarch and deep fry until lightly browned and cook through, about 2 minutes. You will want to work in batches, and let the oil rest slightly between batches, so that it can heat back up. Once all the pork is cooked, let the oil heat up again and fry the pork again until crispy. This will only take about one minute per batch. Set aside.

Pork after second frying
Heat a little oil in a wok on high heat. Stir fry the pepper and pineapple until softened and browned. This will take several minutes. Water will sweat out of the peppers; let this cook off so that they can brown. 


Add the sauce, and cook for 1-2 minutes, reducing to desired thickness. It should be quite sticky. Turn the heat off and add the pork. Toss until pork is thoroughly coated. Serve with rice.

Thursday, January 19, 2012

Beer-Battered Tilapia

Pub Week, Day 5. Fish and chips are an absolute pub classic, as well as popular street food in the UK. Here I have put a few twists on the traditional formula. I've swapped cod for tilapia, which is readily available in US grocery stores. I also chose to make roasted potato wedges instead of french fries (chips). The recipe for the potato wedges will be posted next week. The exact formula for the batter is still something of a work in progress - you may desire to add a bit more flour, or perhaps some spices. Ideas are welcome in the comments!


Ingredients
  • 2 tilapia fillets
  • 1 cup all-purpose flour
  • 1 cup Guinness stout
  • 1 egg
  • Salt and pepper
  • Malt vinegar
  • Oil for frying

Instructions

Pour flour and Guinness into a bowl. When pouring the beer, try to pour against the side to stop the creamy head from forming. Crack the egg into the batter, and lightly season with salt and pepper. Whisk together thoroughly.


If you look at the tilapia fillets, you will notice they have a natural divide down the center. Slice each fillet in half, so that they'll be more manageable to cook. Lightly salt, pepper, and flour each side, then dip in batter to coat. Drop each piece into the oil, taking care not to crowd the oil or let the fish pieces stick together. I did two pieces at a time in my small fryer. Cook for about 6 minutes.

Serve immediately to retain crunchy exterior. Pour malt vinegar over the fish and salt to taste before eating. This recipe, along with the potatoes, makes 2 servings. There is more than enough batter here to fry a lot more fish than just our two fillets, so keep that in mind if multiplying the recipe.

Tuesday, January 17, 2012

Scotch Eggs

Pub Week, Day 3! I've been a fan of scotch eggs for a long time, but I had never made them before. I first ate them at the Minnesota Scottish Fair, state fair style - on a stick. As luck would have it, my wonderful girlfriend gave me an electric deep fryer, so today was a perfect opportunity. As it turns out, scotch eggs are actually pretty easy to make, with very common ingredients. This recipe makes two scotch eggs.


Ingredients
  • 3 large eggs (2 for boiling, 1 for egg wash)
  • 1 link raw pork sausage, or equivalent bulk sausage
  • Flour
  • Bread crumbs
  • Salt and pepper
  • Oil for frying

Instructions

Start by hard boiling the eggs. Fill a pot with cold water, submerge eggs, and bring to a boil. Once the water starts boiling, remove from heat and let stand for 10 minutes. Remove the eggs and set aside to cool. This can be done well in advance.

A note on sausage: I always buy link sausage, for two reasons. First, as a person living alone, it is very easy to freeze the individual links for later. Second, you can always de-case the links. I used Italian sausage here, but use whatever kind you have.


If using links, de-case the sausage. Conveniently, a regular sized link will be perfect for two scotch eggs. Divide the sausage in half and form into thin patties. Flour both sides of the patty and lay a peeled egg on it. Wrap the sausage up and around like a blanket, working it with your fingers until it thins and covers the whole egg. Make sure it's secure and there is no egg showing. This is actually a lot easier than I was expecting - the sausage stays on very nicely.


Preheat oil in a pot or deep fryer. You want the oil to be hot enough to get the breading nice and crunchy, but not too hot so that it will burn. Crack the remaining egg into a bowl and beat with a fork. Pour breadcrumbs into a shallow bowl or plate, and season with salt and pepper. Roll each sausage-egg in the egg wash, then in the breadcrumbs, and carefully drop into the oil. You can fry two eggs at a time. Cook in the oil for about 4 minutes, then let them rest on a paper towel for a few minutes. Carefully cut the eggs in half with a serrated knife.

You can enjoy your scotch eggs hot or cold. They are great on their own or with a dipping sauce. I whipped up a quick spicy mayo using regular mayonnaise, smoked paprika, a little garlic powder, and a few squirts each of Sriracha and Worcestershire. You can also use a straight hot sauce or anything you like.